Test (quizzes) 1 - Create and assign
Tests are the most convenient way to assess a student's knowledge. With Leemons, teachers can create infinite tests from a bank of questions, varying the level of difficulty and the categories of topics to be validated.
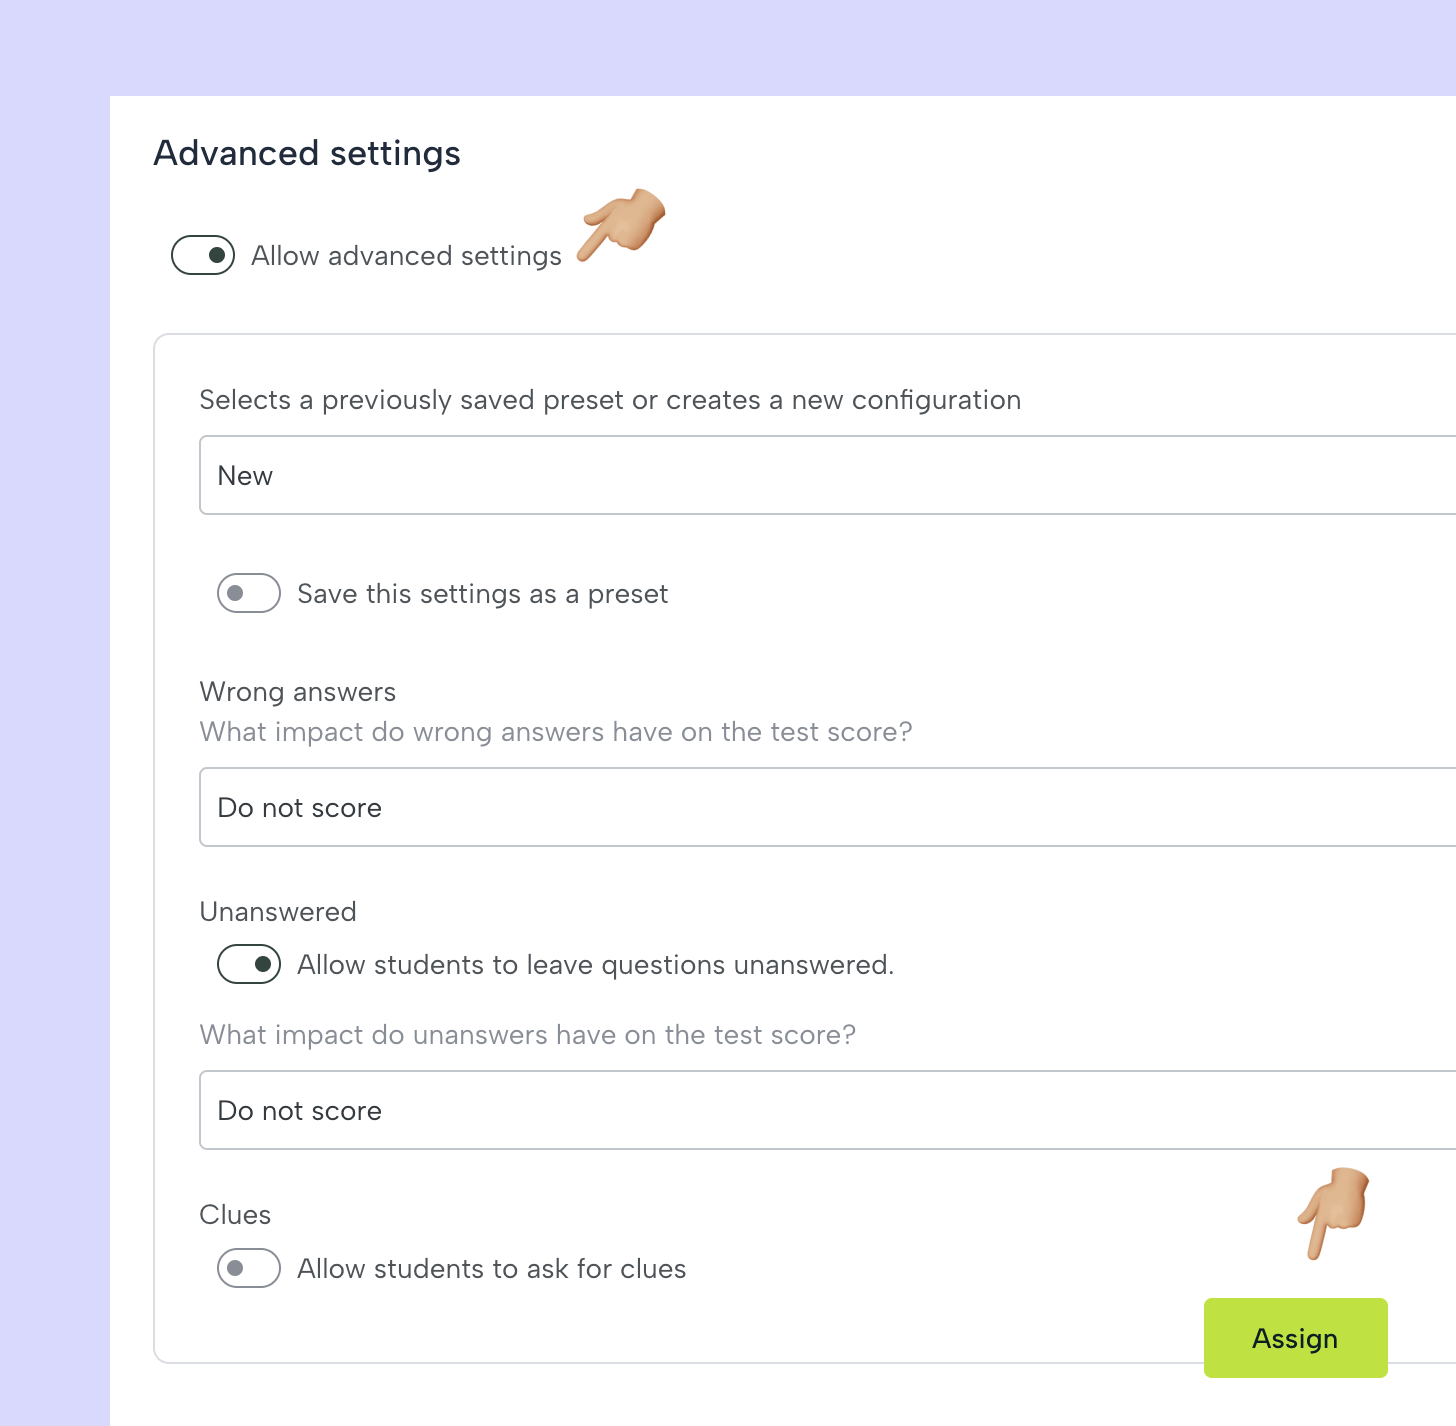
Numerous parameters can be configured in a test, whether blank answers can be left, whether wrong or unanswered answers will subtract points, the maximum running time from the start of the test and whether the correct answers will be shown to the student at the end of his test or only at the end of the deadline.
To improve self-regulation, the tests provide detailed information on errors and correct answers in a data table. Teachers can also find out at any time who has completed the test and what the aggregate or per-student results are.
Step by Step
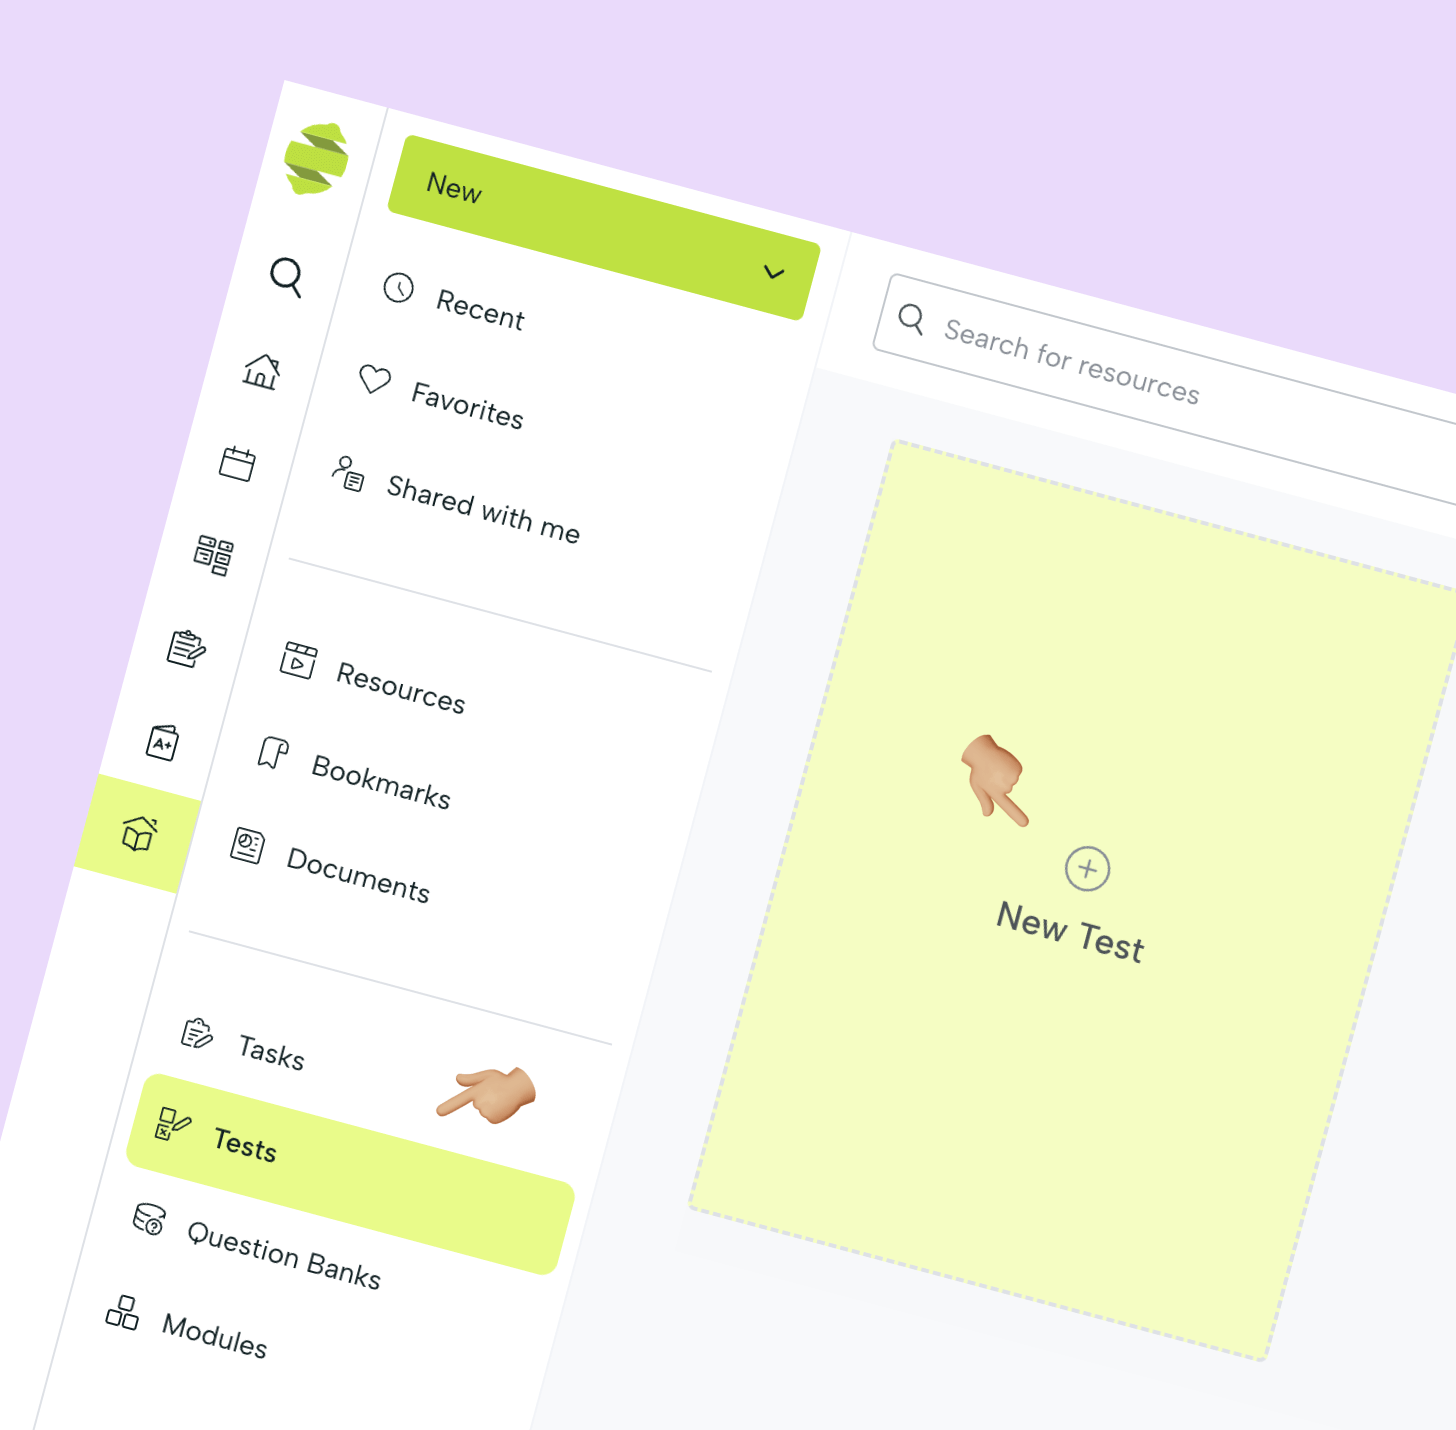
New test
Click on New Test in the corresponding section of the library or by clicking on the New menu in any other section.
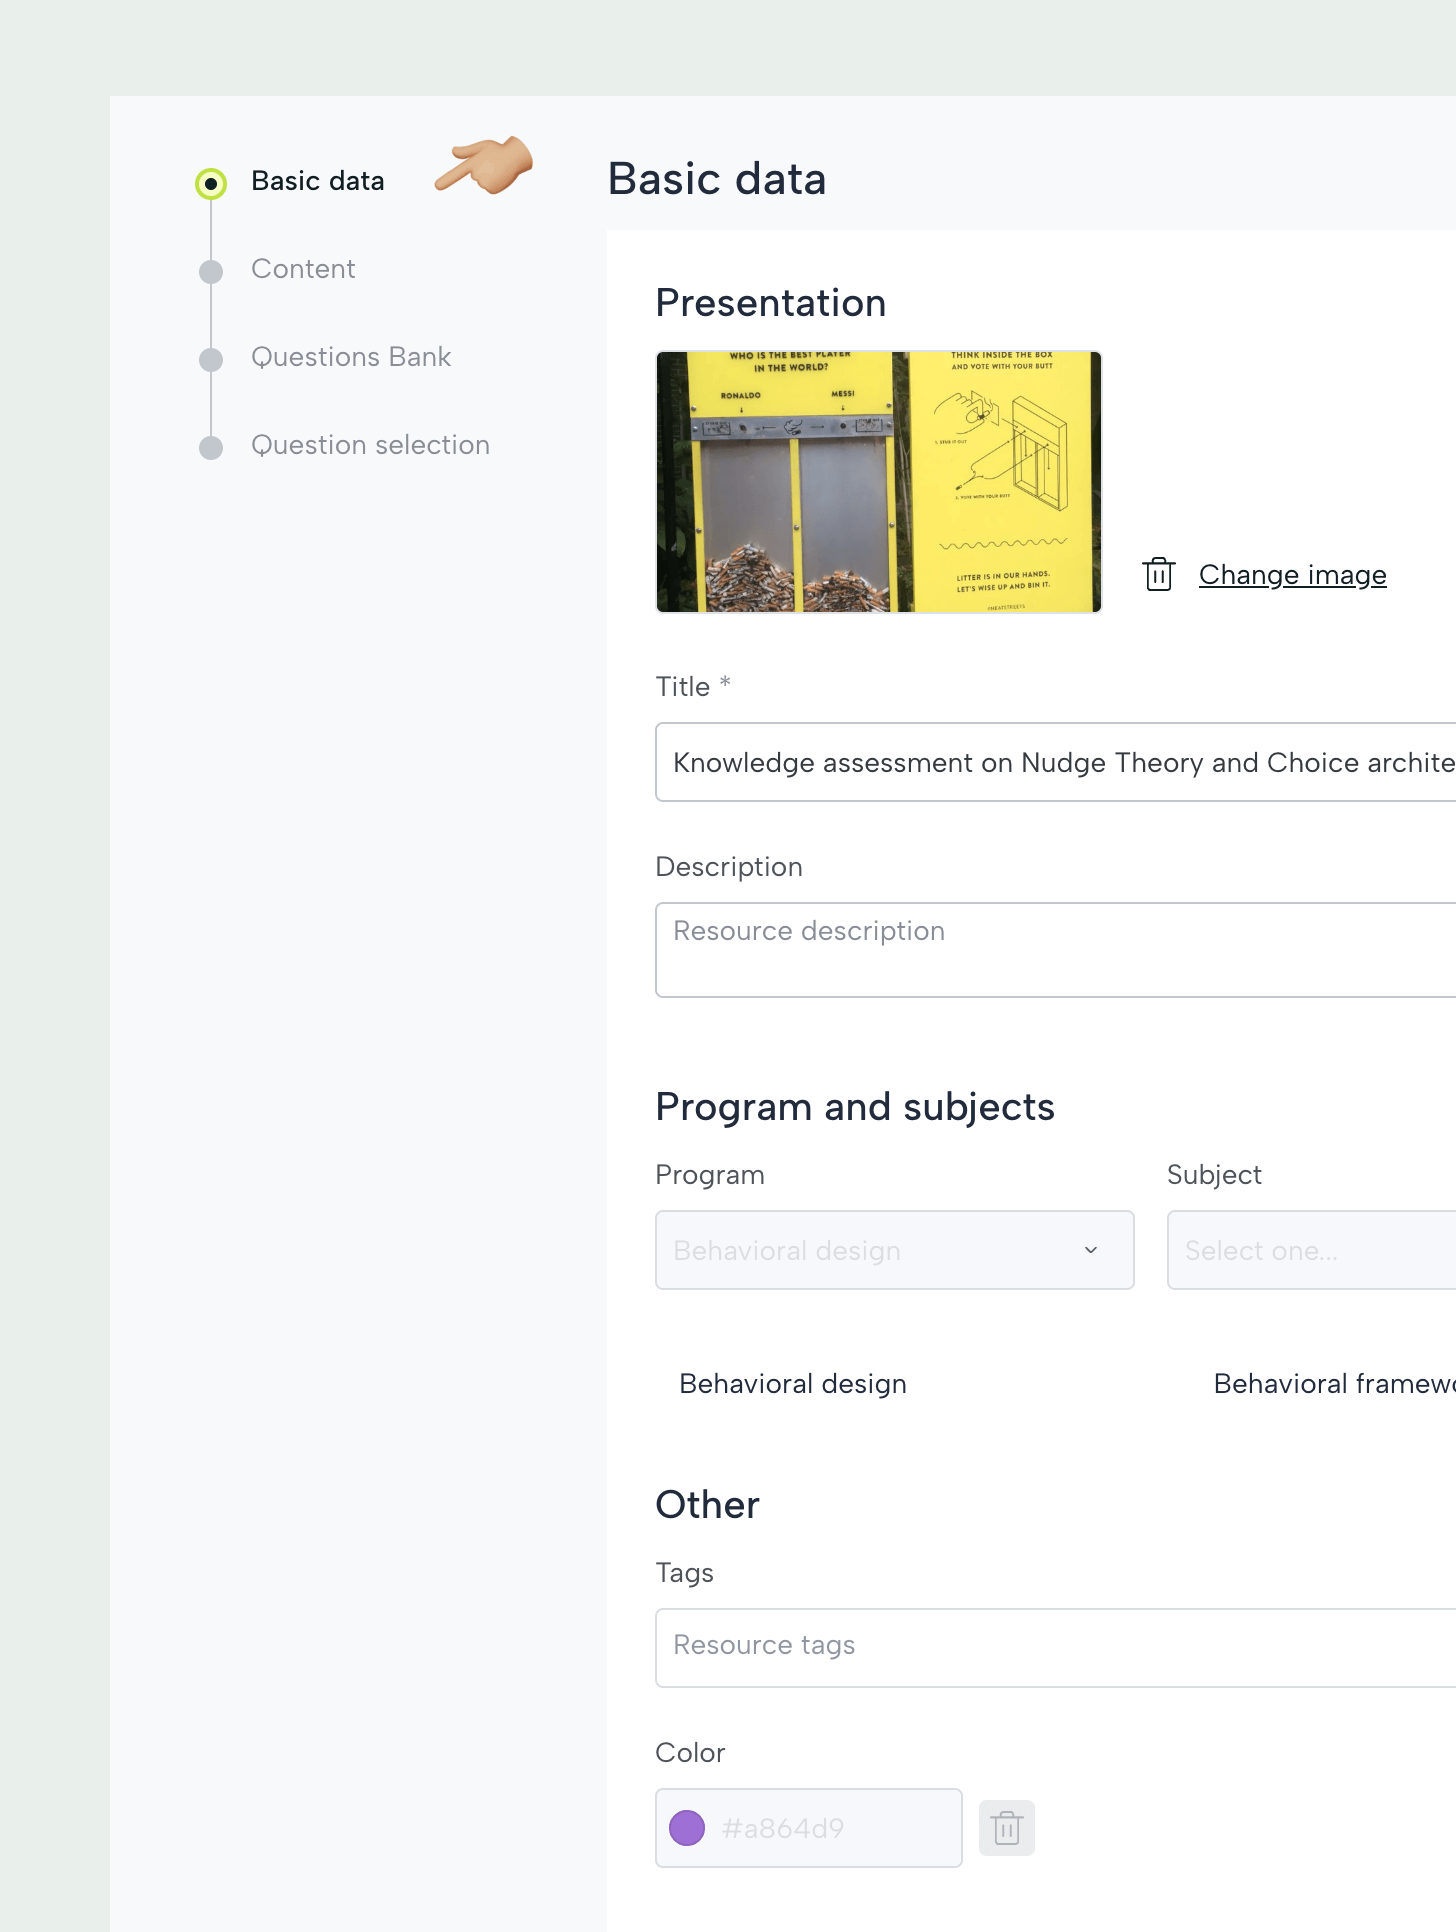
Basic data of the test
At this point we complete the information on the cover page, and we choose the subject (this will be important since only question banks of the same subject can be used).
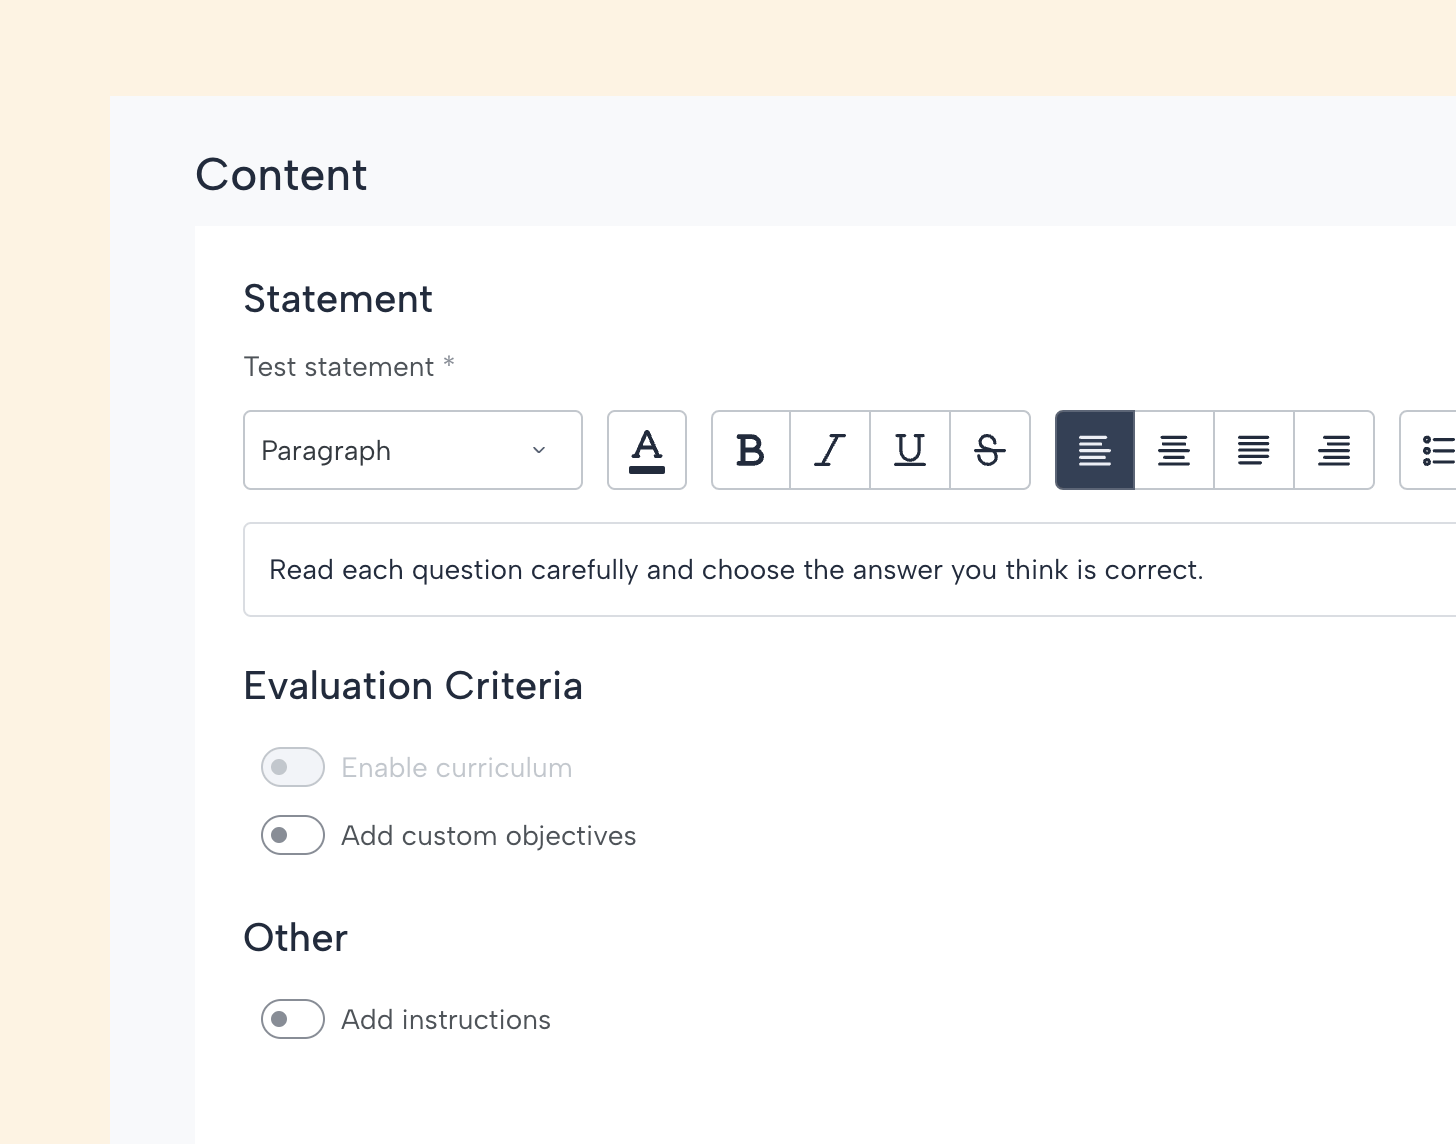
Test statement
Write a general text about the test that the students were first when executing the exercise.
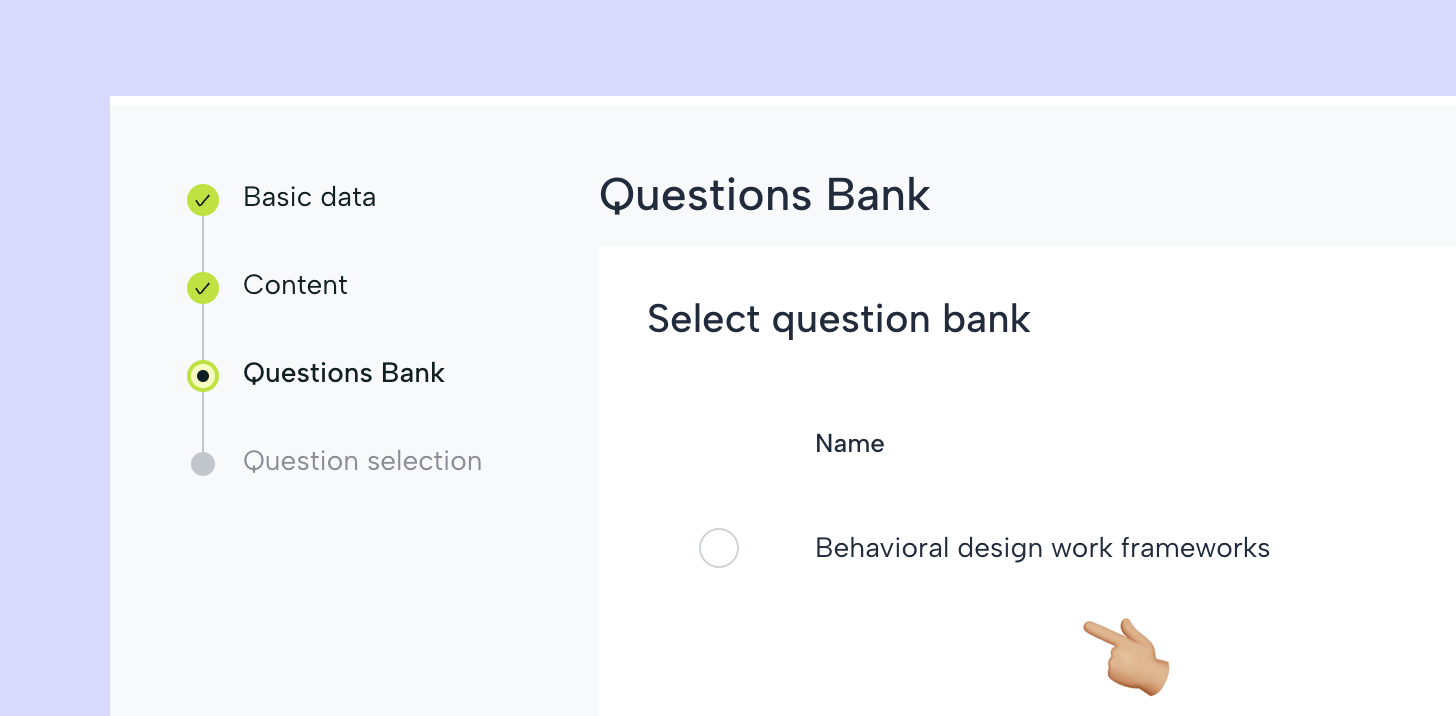
Choose Question Bank
This is required to be able to add questions to the test. If no Question Bank appears in this step, you must go back and check that the subject is correctly configured.
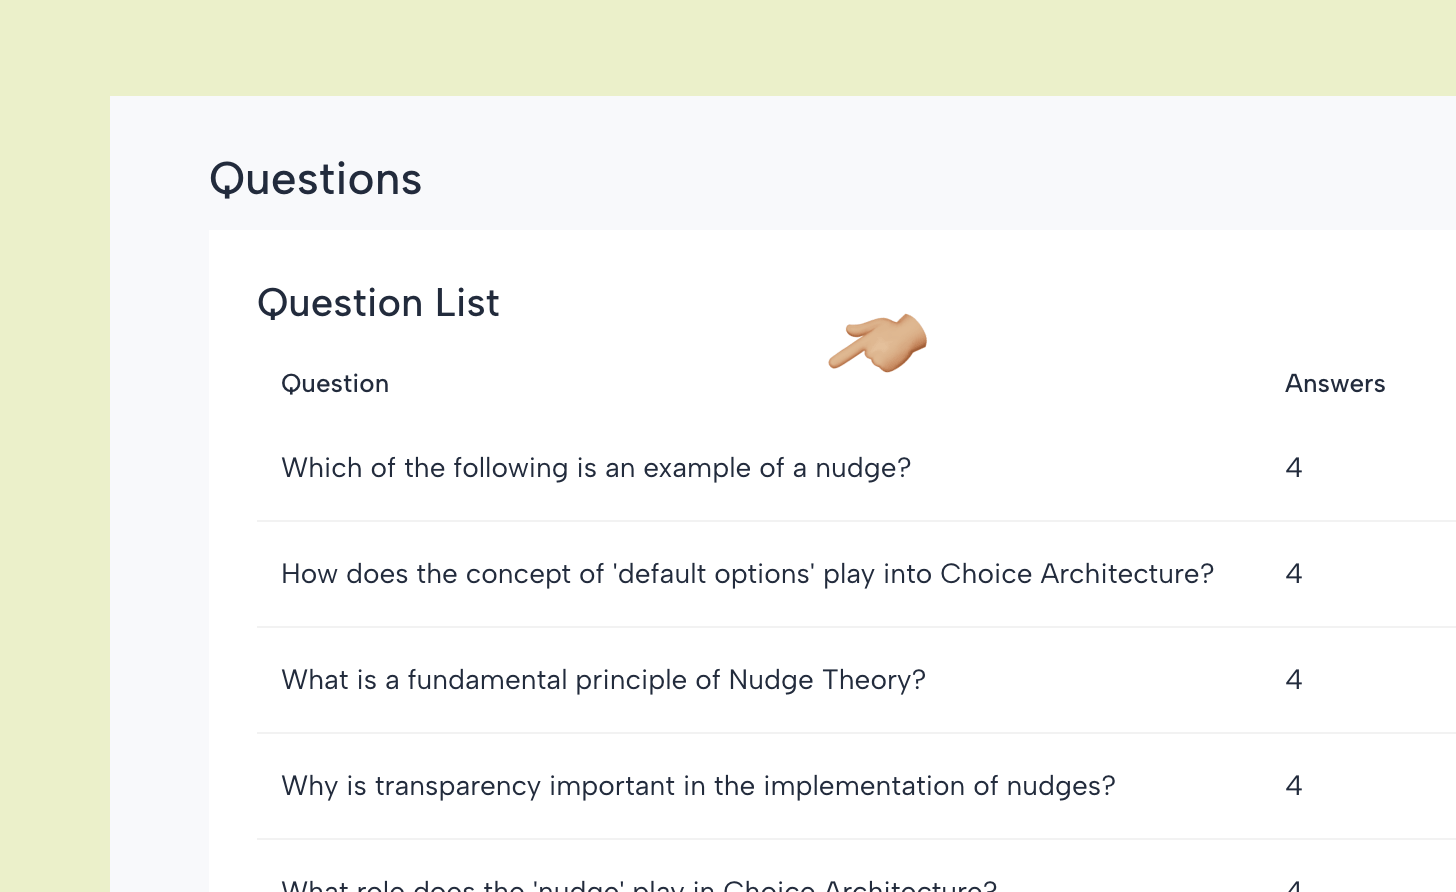
Question Bank Preview
By clicking on the icon next to the name of the Question Bank it is possible to preview the content (it opens in another browser tab, to return to the process just close it).
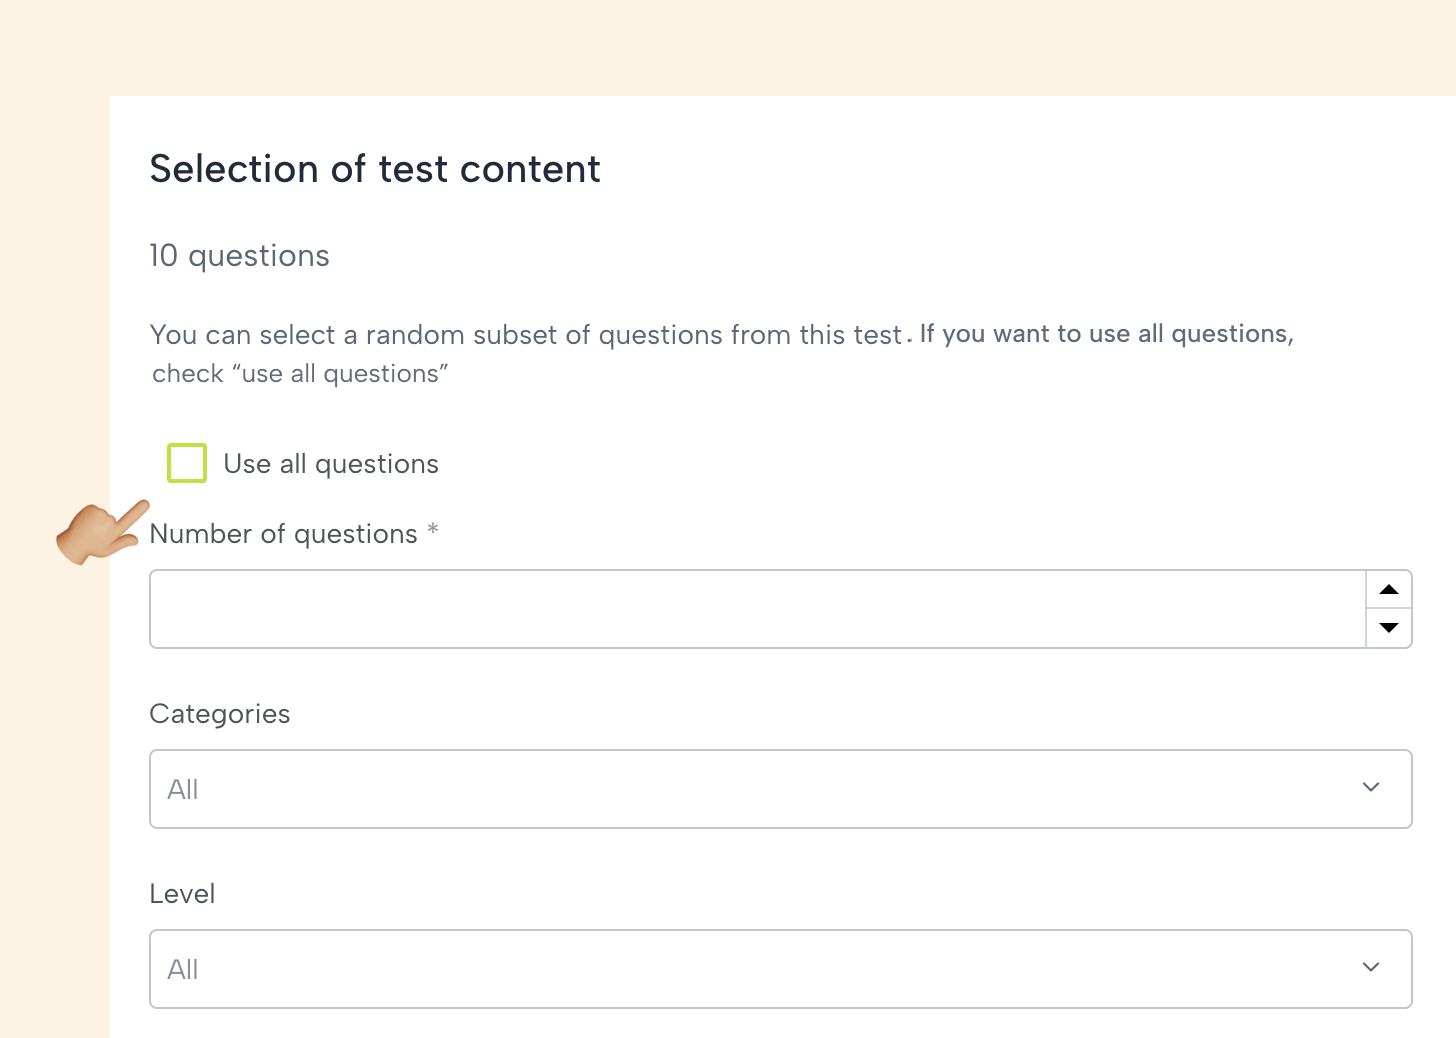
Search for questions
In this step, specify the number of questions for the test and the filter options: type (map, multiple choice or both), categories and level.

Selection of questions
The system returns a random set of questions that respond to the search, select those that interest you and finally publish the test.

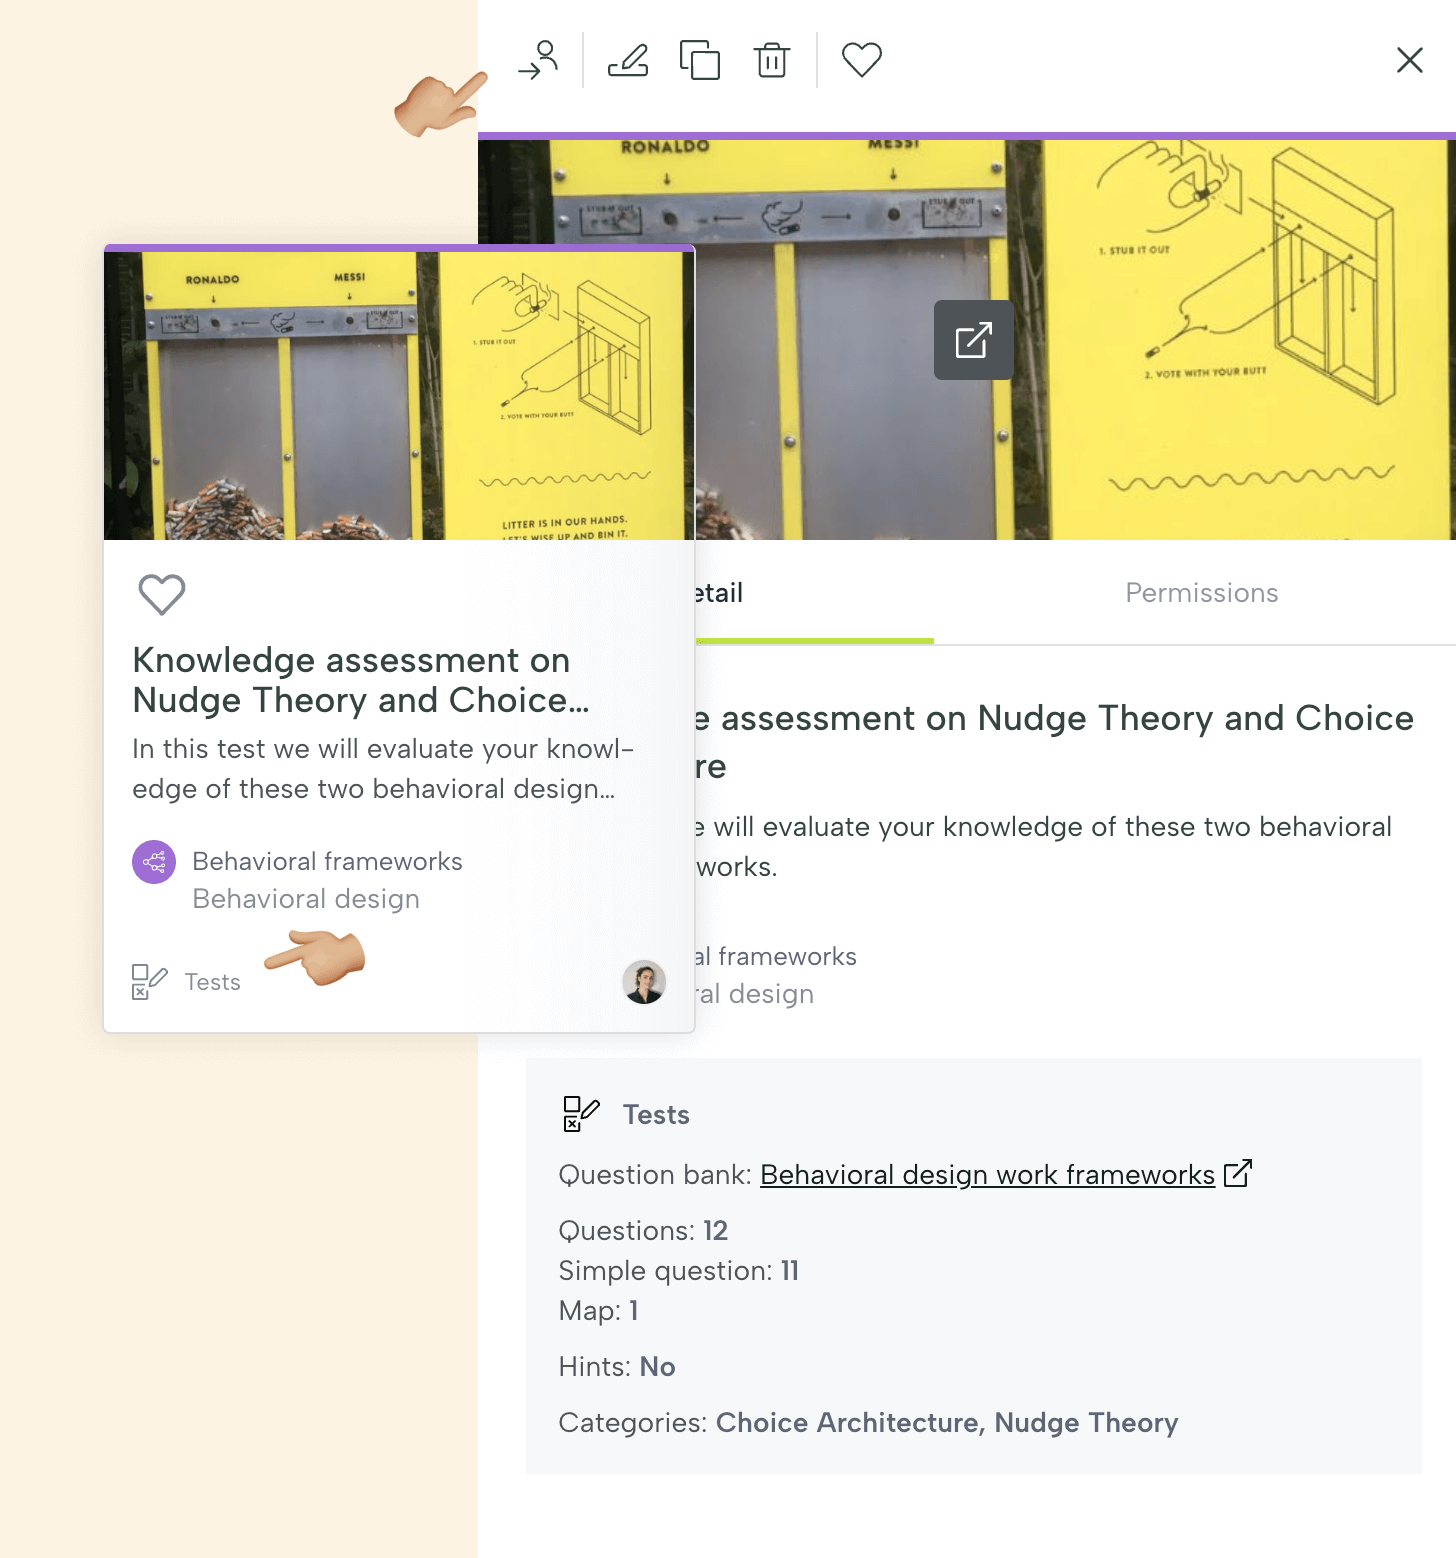
Great! Test in the library
When publish the test you can find it in the library. Click on it to see the information in detail, it shows a summary of the number of questions, the type and categories created, as well as the source Question Bank. You can assign it by clicking on the first button on the top bar in the detail window.
Assigning the test
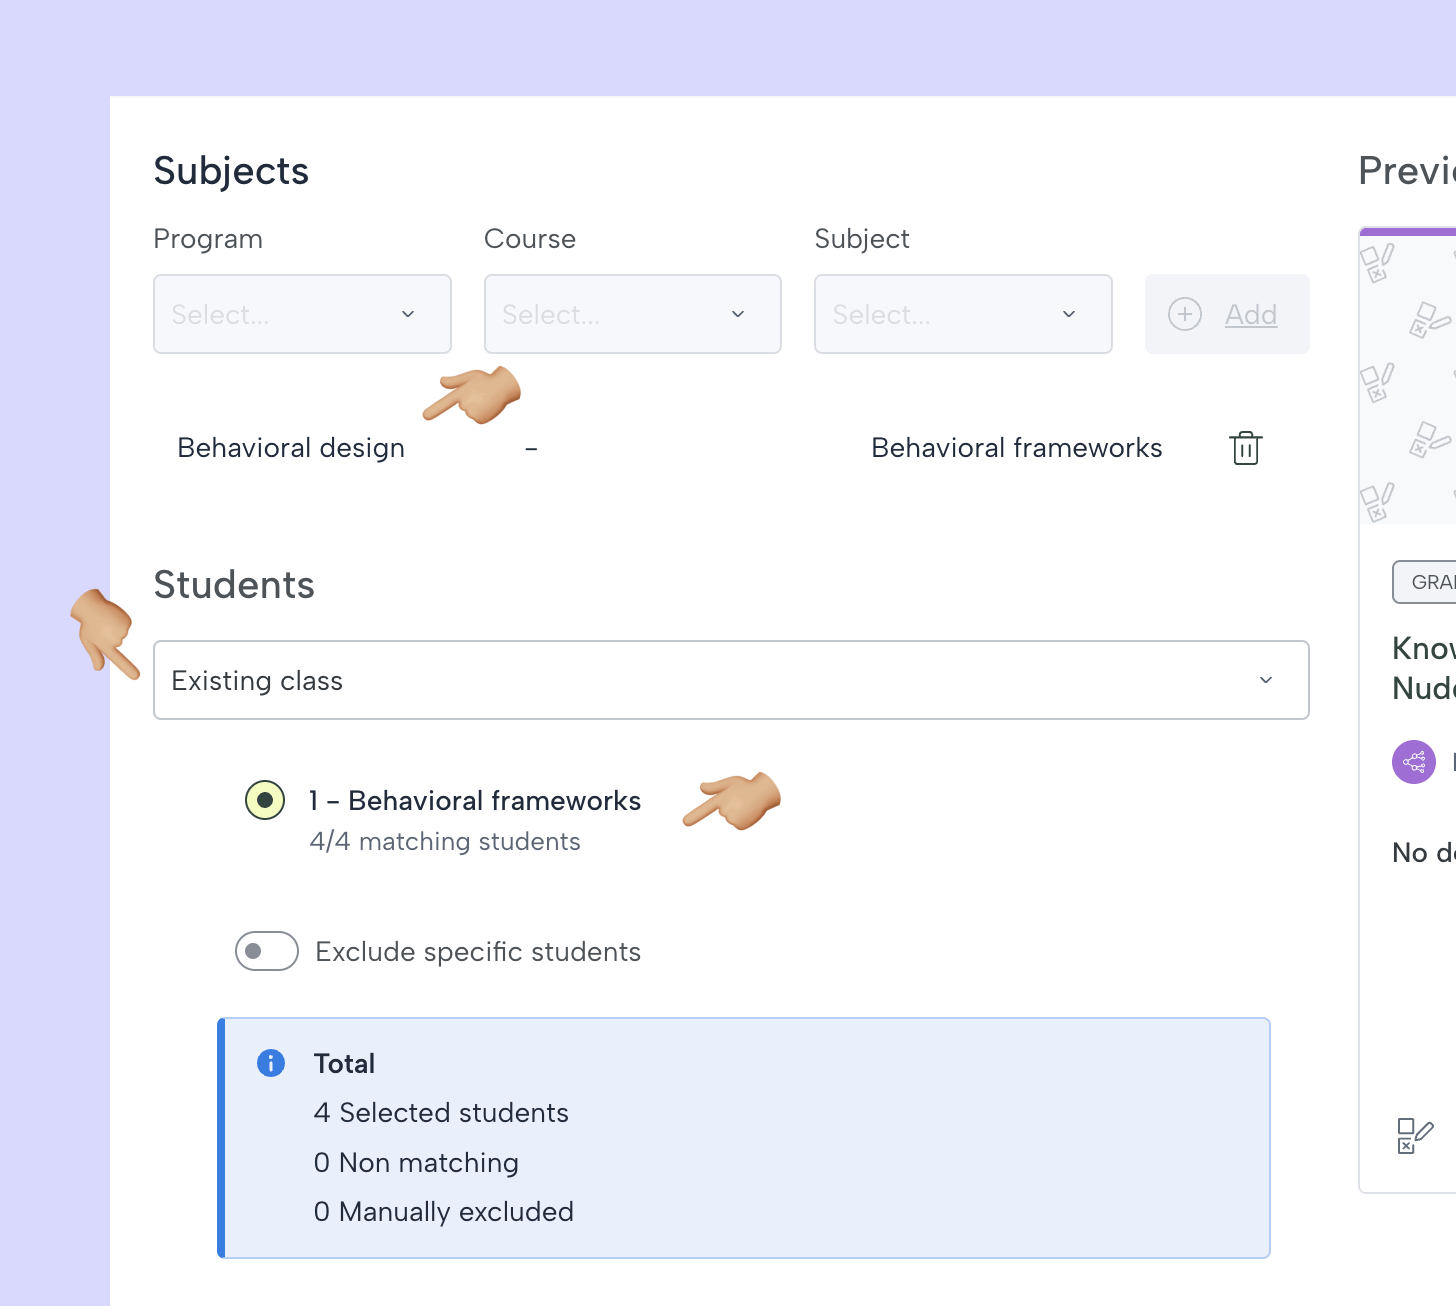
The assignment window allows us to choose the group of students. A test can be assigned to a whole class (from which we can exclude students if necessary), to a group of students (which we can name) or to a specific student.
Time limit for the test
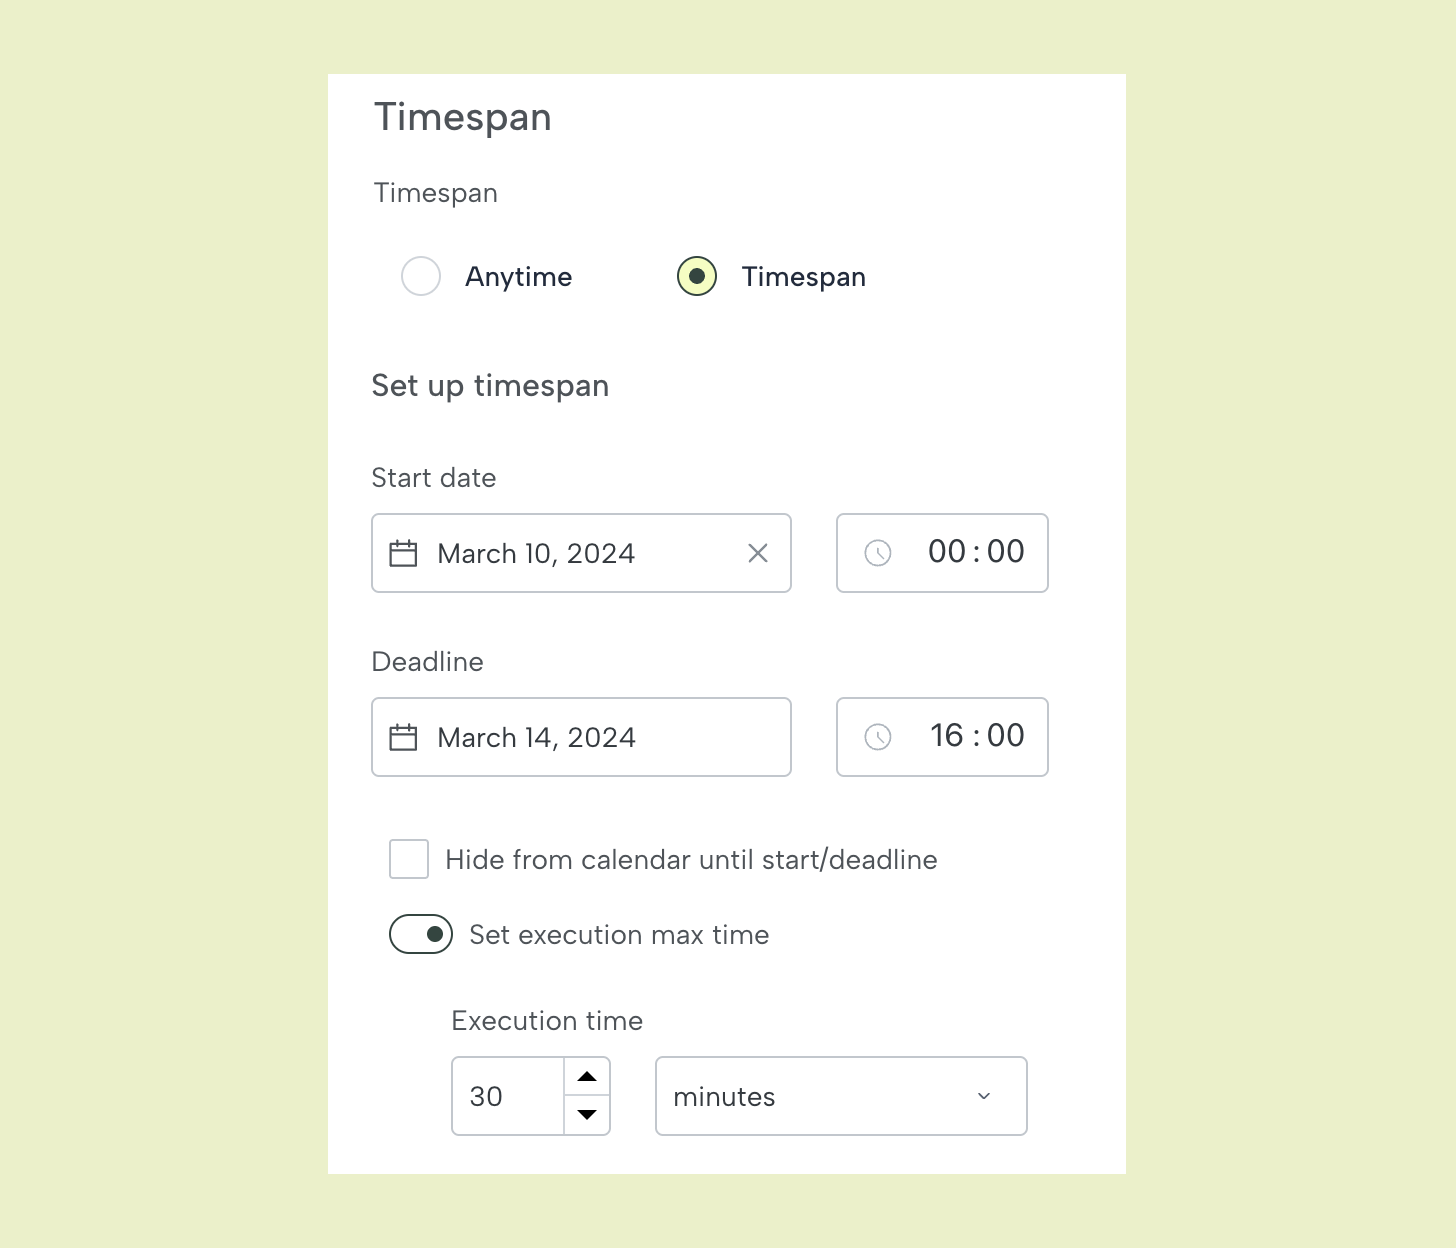
You can set the test without a time limit so that students can take it whenever they want or you can give a time limit, after which the students will not be able to submit the test. You can also set a time limit after which the test is closed.
Evaluation Rules
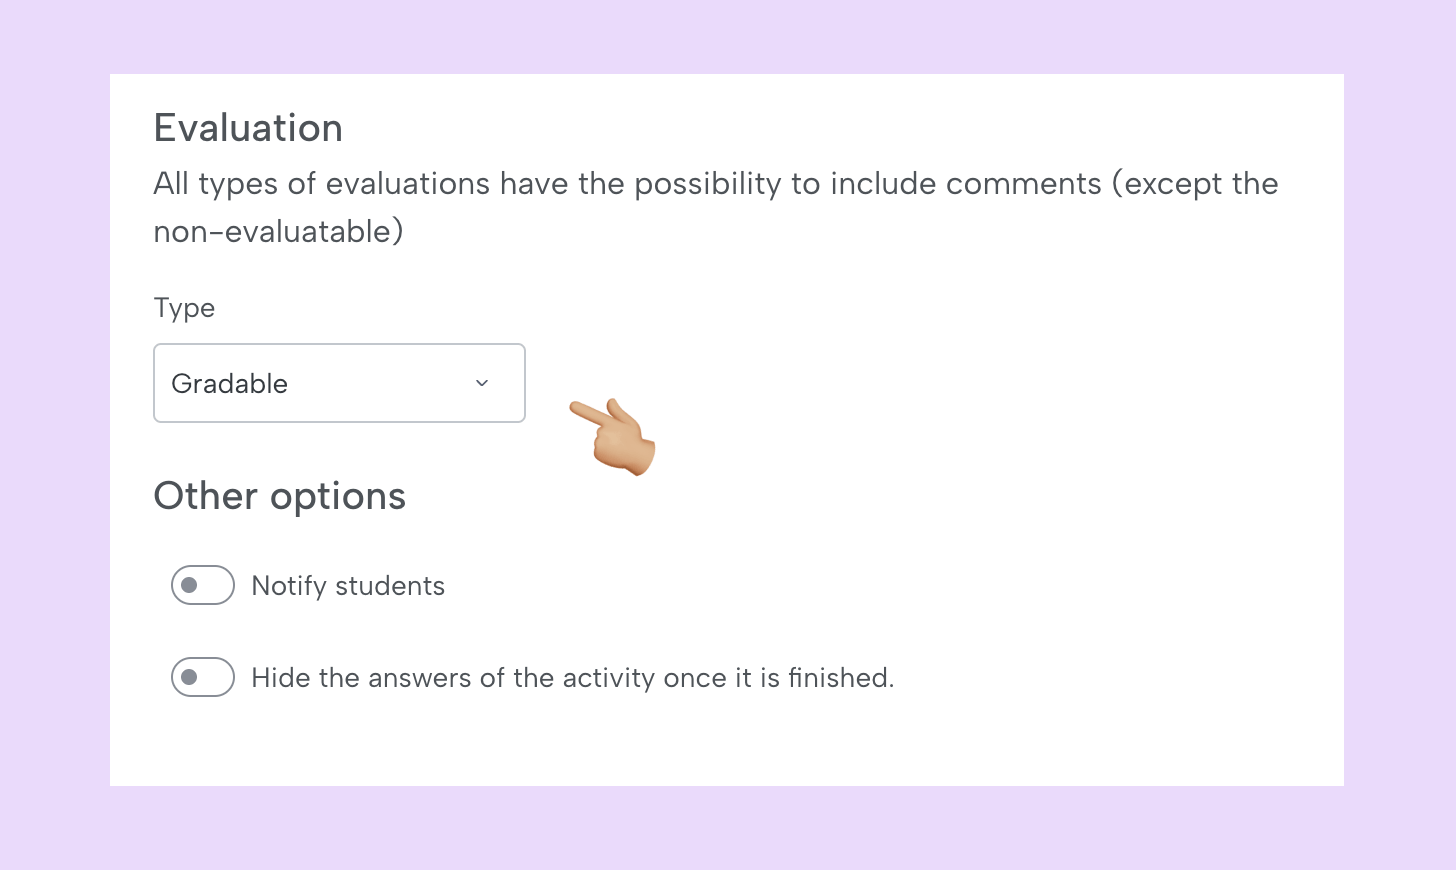
There are four types of evaluation that you can see in the image: with grade (goes to the notebook and averages with the rest), scoring, with feedback (both give a result to the student but do not save the grade or average) and not evaluable (for example, for the student to review or practice topics without the teacher's help), choose the one that corresponds.
Other options
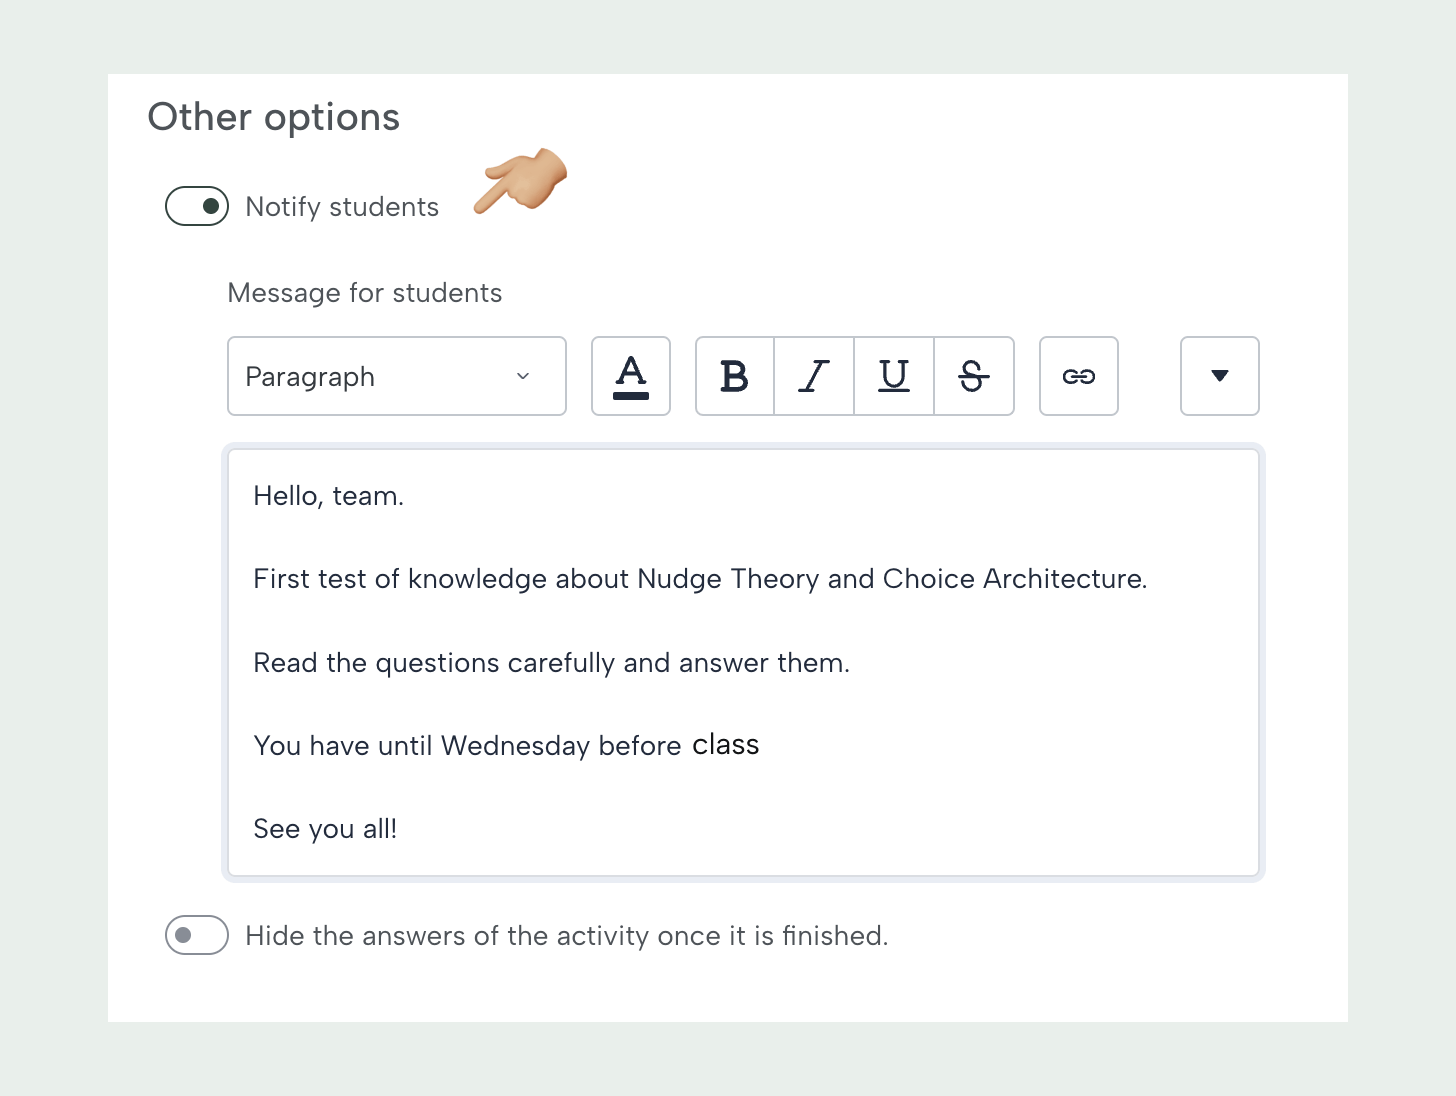
If you wish you can send an email to the students to notify them that you have assigned them an assignment. By activating this option you will be able to create a message that will be sent to them by email.
Here you will specify whether the correct answers will be shown to the student at the end of the exam or only at the end of the deadline.