Primeros pasos: Configuración de Leemons Free (parte 1)
La versión gratuita de Leemons tiene un asistente paso a paso para que puedas crear tu campus virtual en menos de 10 minutos.
Para configurar tu campus virtual solo necesitas tener a mano la siguiente información:
+ Nombre y detalles de tu organización y centro académico.
+ Información sobre el programa académico: nombre, fecha de inicio y fin, modelo de evaluación (europeo o americano)...
+ Información sobre los profesores o el claustro docente (correo electrónico, nombre y apellidos y fecha de nacimiento).
+ Las asignaturas que se van impartir, el horario y el profesor.
+ Algunas imágenes e iconos (en formato SVG) para dar formato a las asignaturas.
+ La lista de estudiantes a los que quieres inscribir o matricular (con sus correos electrónicos, nombres, apellidos y fechas de nacimiento).
También puedes subir sus fotos de perfil o pueden añadirlas más tarde desde su propio perfil en el campus.
Step by Step
Create a Free account
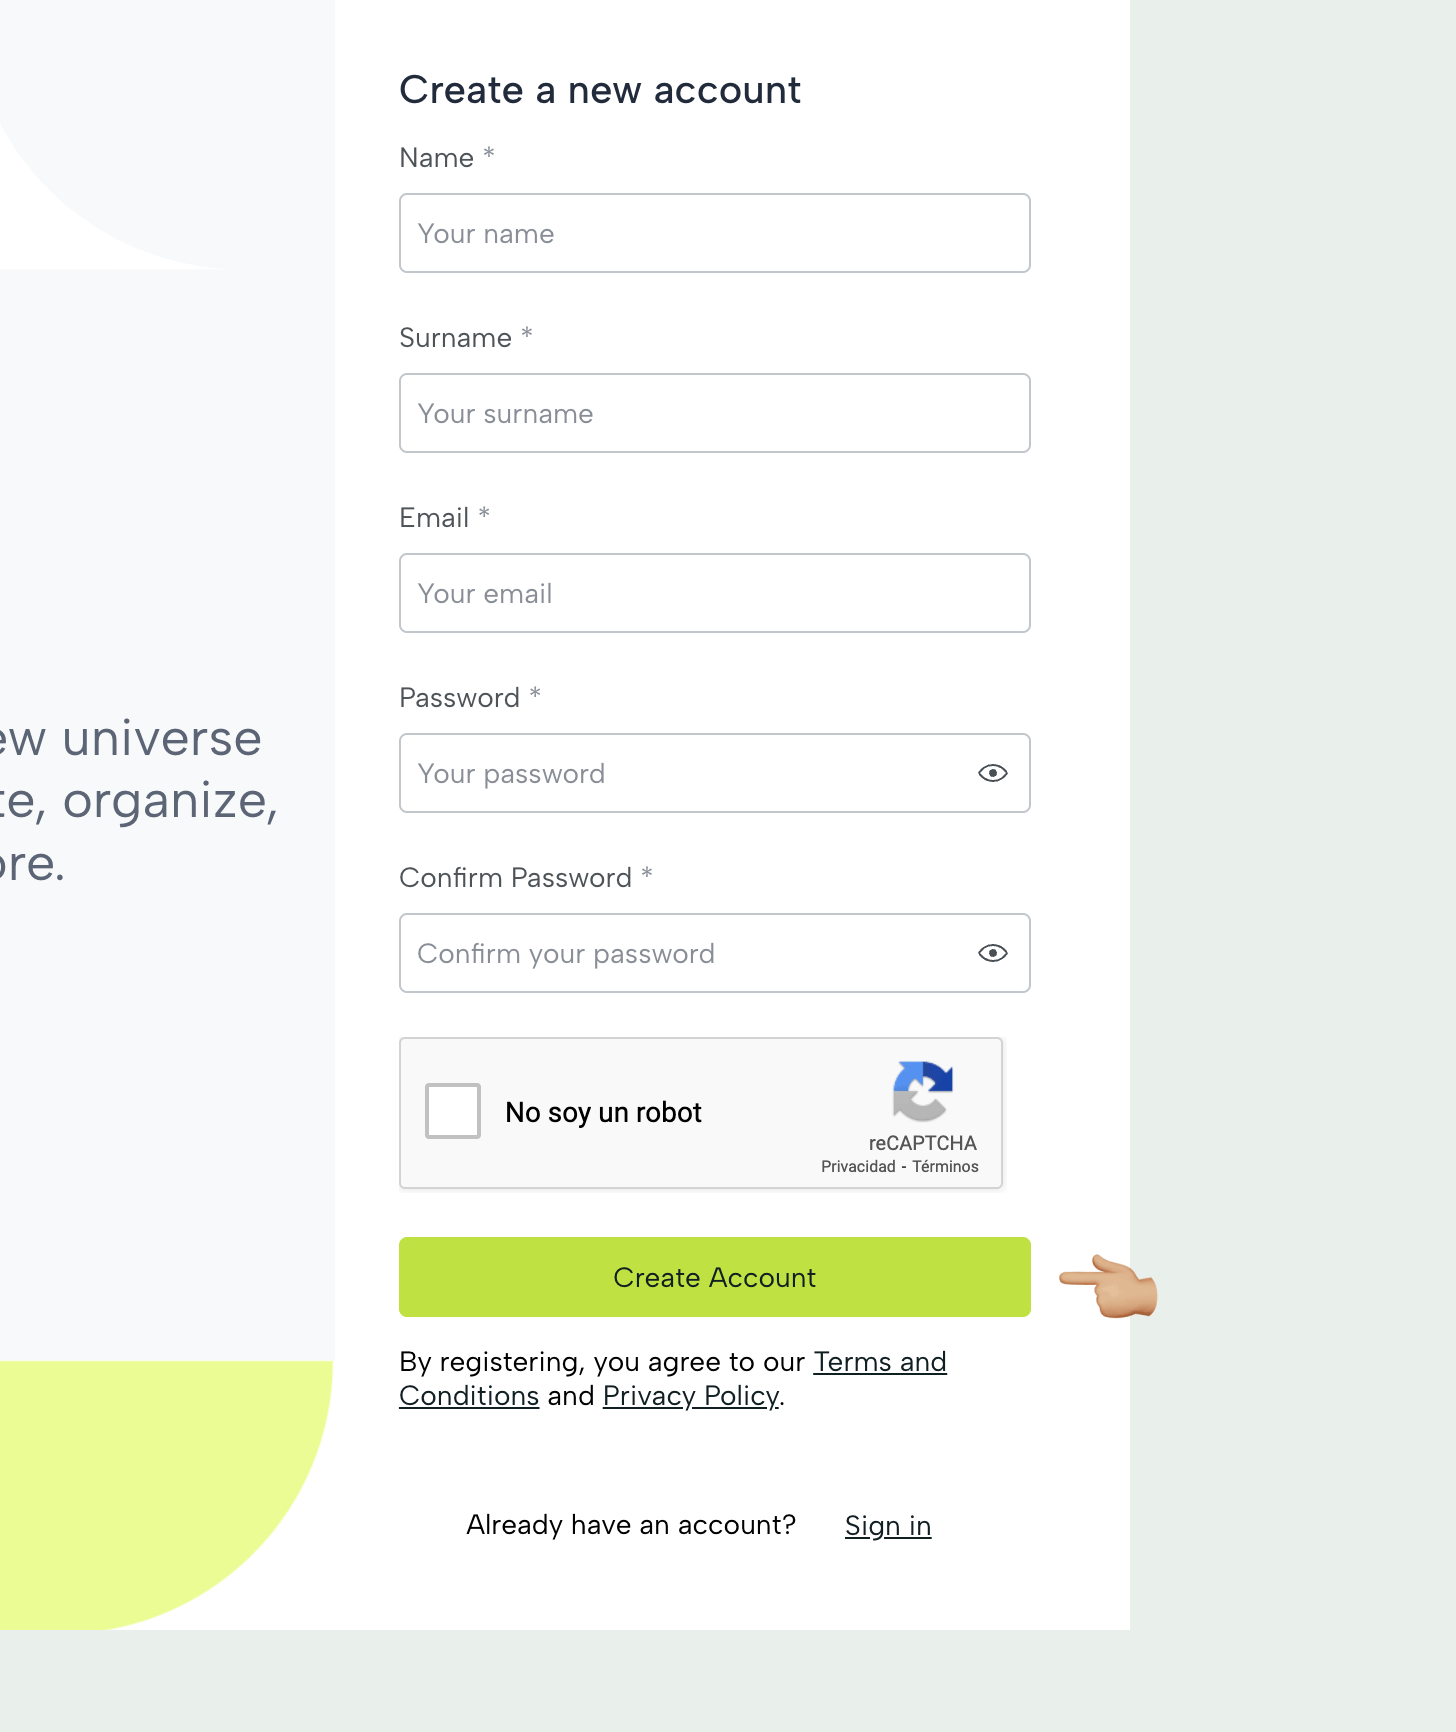
Log in to the Leemons Manager and click on the "Create a free account" option at the bottom of the form to create a new account.
https://manager.leemons.app/
Important: If you already have an account, in this same form you can access the backoffice of your center by entering your username and password.
Fill in the information
Enter the data of the person who will manage the backoffice of the virtual campus.
Activate your account
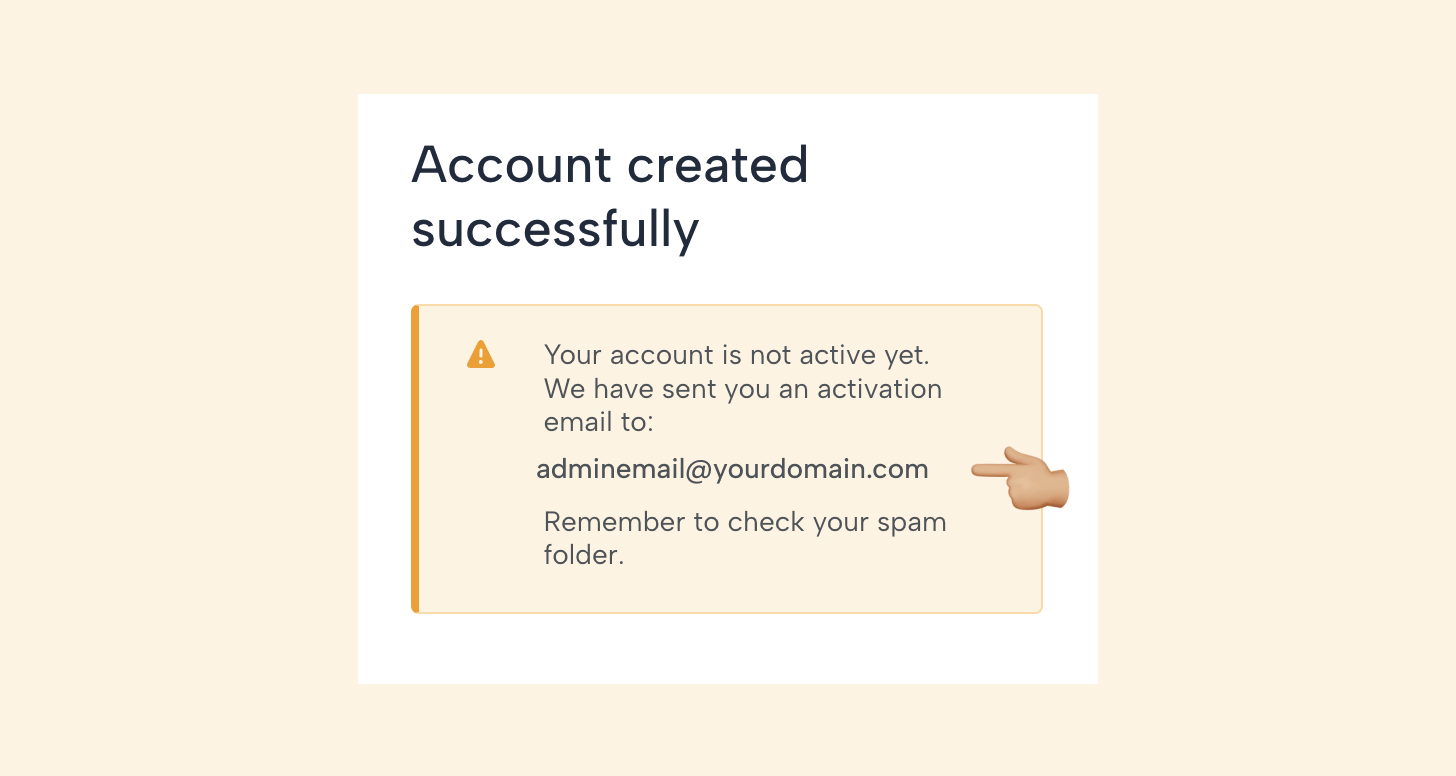
You are not ready yet! The system prompts you to receive an email to activate the administration account.
Activation email
It is very important to perform the activation to create your user in Leemons and be able to continue with the installation. Until you do so, your campus deployment will not start. The link sent has an expiration date of 24 hours.
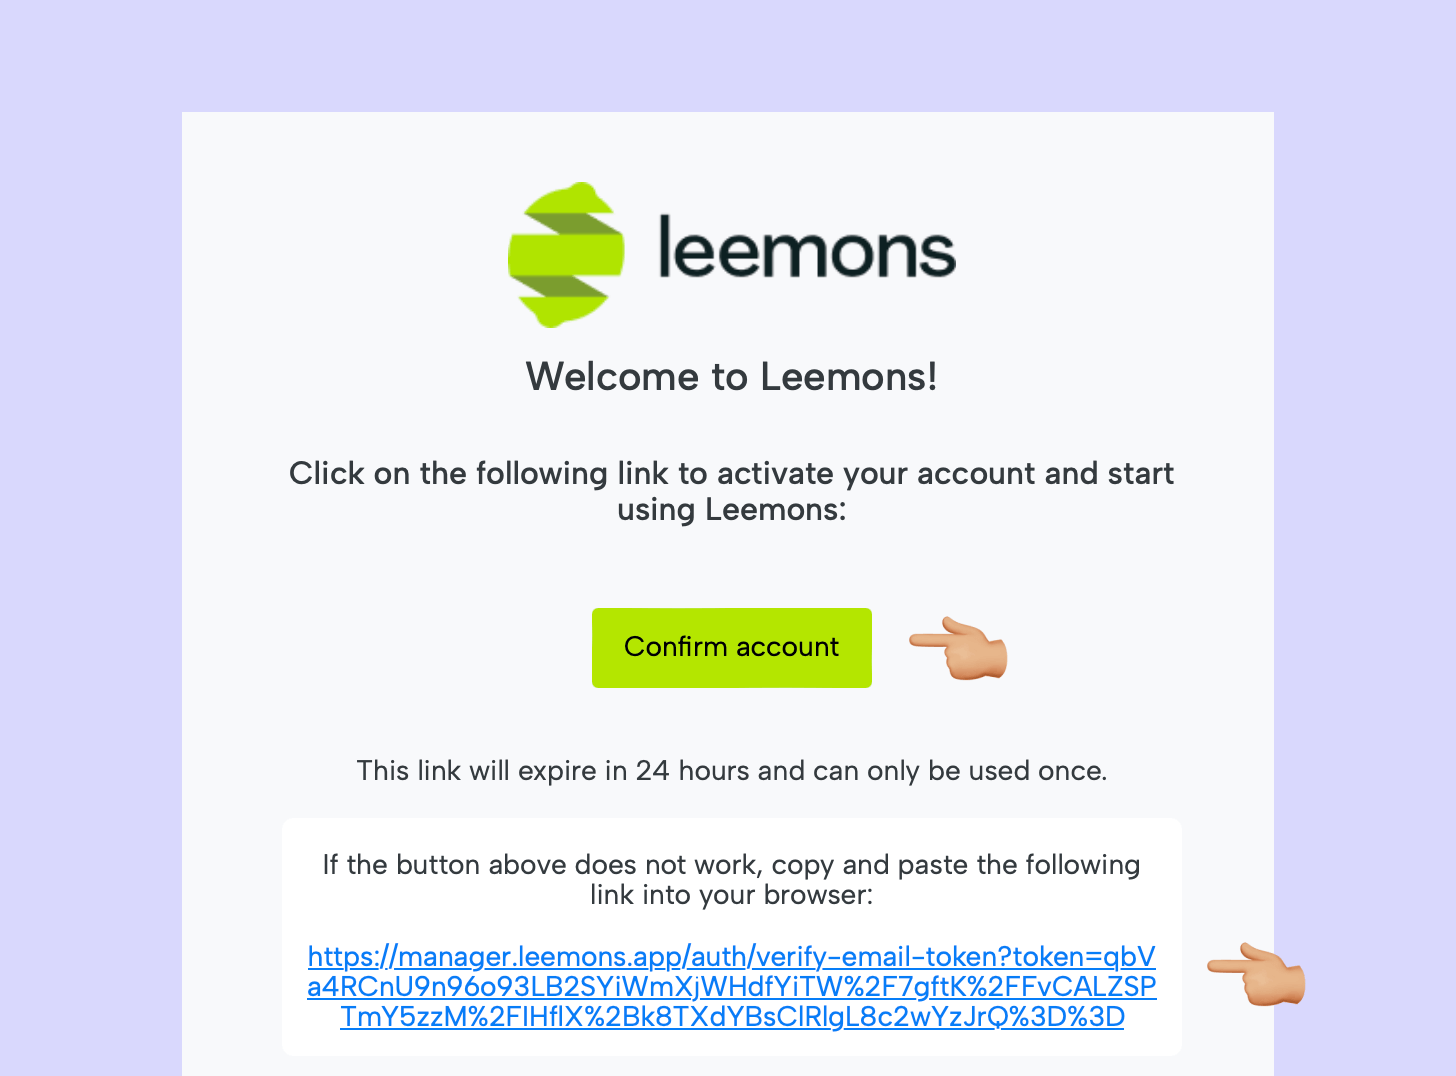
Import: To avoid crossovers with other installations or tests you are doing on Leemons we recommend you to open an incognito window in your browser and copy and paste there the URL (in blue).
Here's how to open an incognito window in all major browsers
- Chrome: https://support.google.com/chrome/answer/95464?hl=en&co=GENIE.Platform%3DDesktop#
- Safari: https://support.apple.com/en-us/105028
- Firefox: https://support.mozilla.org/en-US/kb/private-browsing-use-firefox-without-history#w_how-do-i-open-a-new-private-window
- Edge: https://www.microsoft.com/en-us/edge/learning-center/private-browsing?form=MA13I2
Email Address Verified
This message confirms that your user has been successfully registered and you will be able to access the Leemons administration system.

If an error appears at this point (either because the token has expired or because of an error in the session), the user will not have been created and you will have to start over.
Start setting up your platform
This screen shows an overview of the 5 steps to create your campus with the educational program, subjects and teachers and finally enroll students.
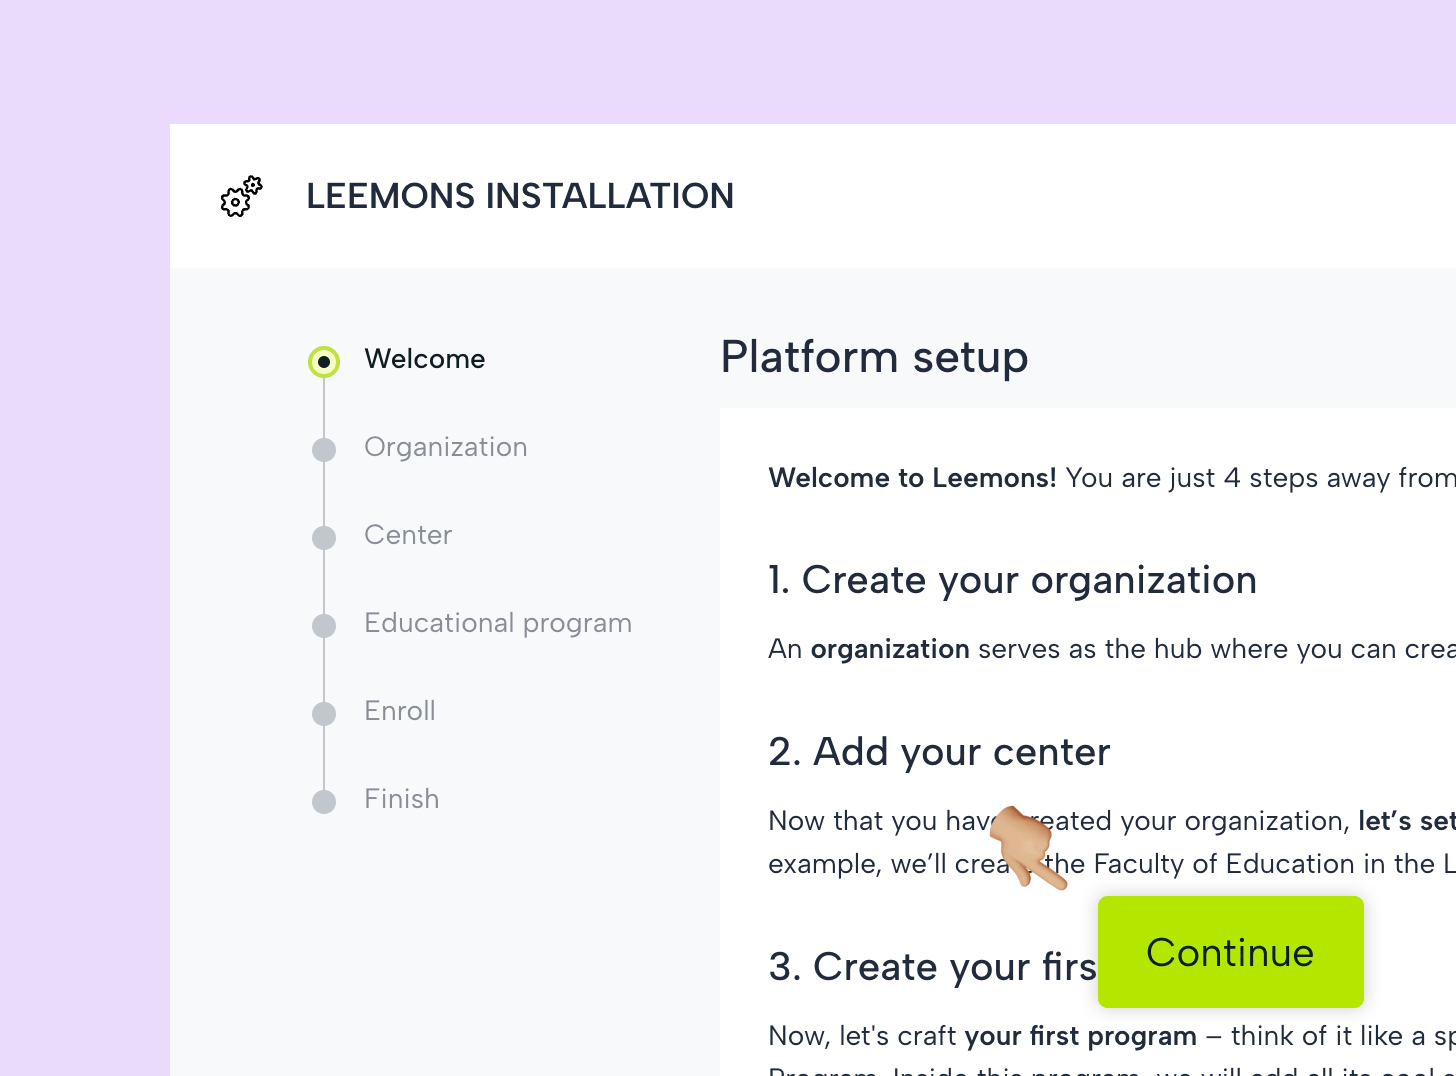
This process will take you no more than 10 minutes in total. You must complete it up to point 3 (school information).
From there, if you have to interrupt it or want to leave some action for later (create your educational program, subjects or enroll students) you can continue it later.
About your organization
Fill in here the name of your organization which may or may not match the name of your school (we will ask for on the next page) and the administrative contact information.
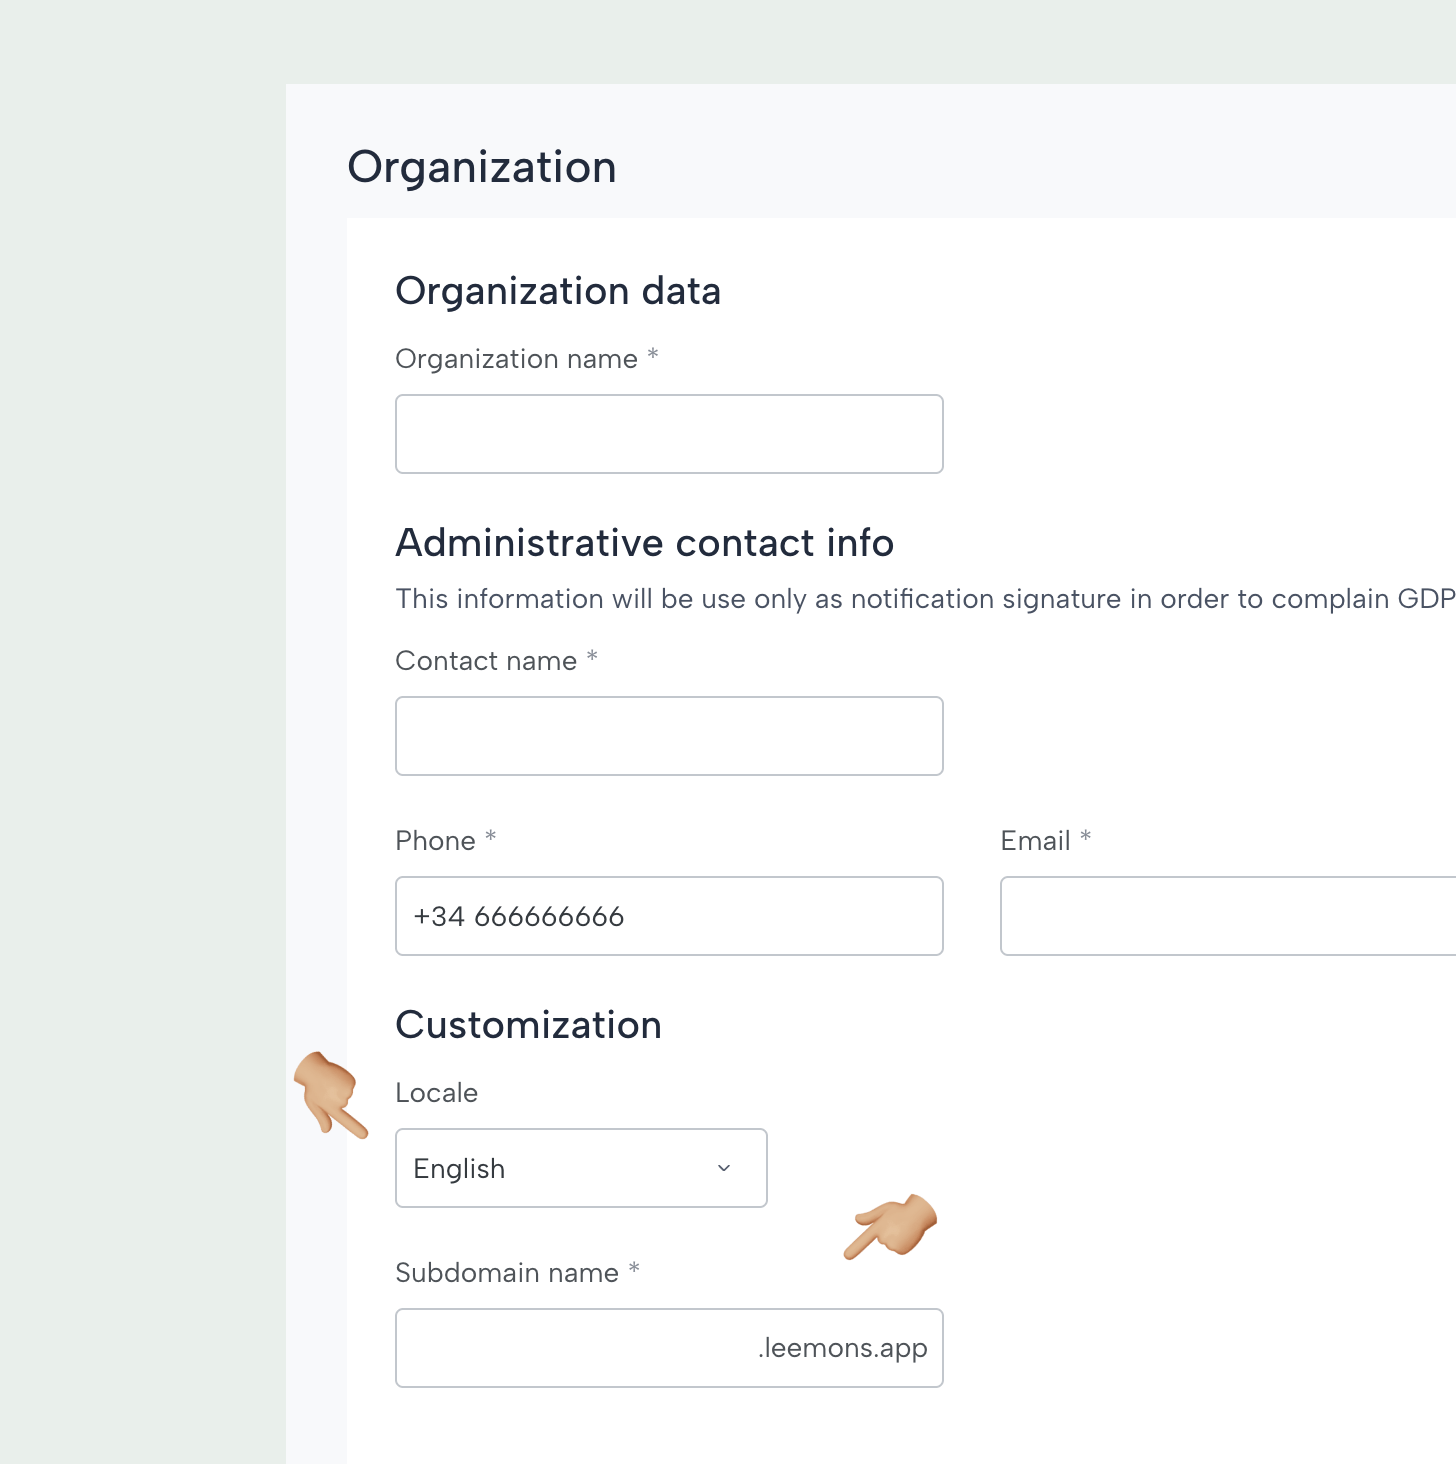
Please note these two fields:
- The local language is the language in which your platform will be available (the free version has English and Spanish).
- Your domain name will be reserved for your users to access your platform and will have the following form: yourdomain.leemons.io.
Learning Center
Here you indicate the information about your school, academy, university, company... and it's training center. On this page you must set your time zone and the first day of the week to configure your calendar.

In the paid version of Leemons, you can configure multiple training centers for the same organization and each one can have a different language, time zone and calendar configuration.
Confirmation messages
At this moment the user with whom you are operating will be configured as the system administrator.
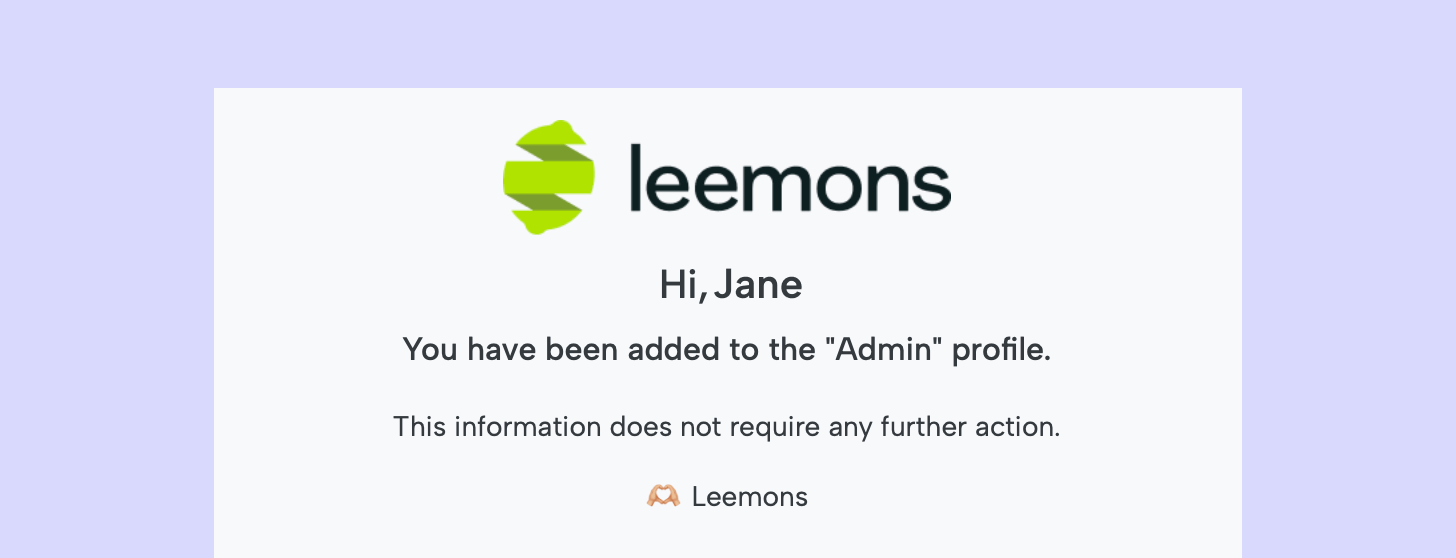
Important: during this setup each user registered in the platform will receive a message to activate his account (as in step 4).
However, when a new profile is assigned to an already active user (teacher, student), he/she will only receive a confirmation message (like the one above) which does not require any further action.
Creación de un programa educativo
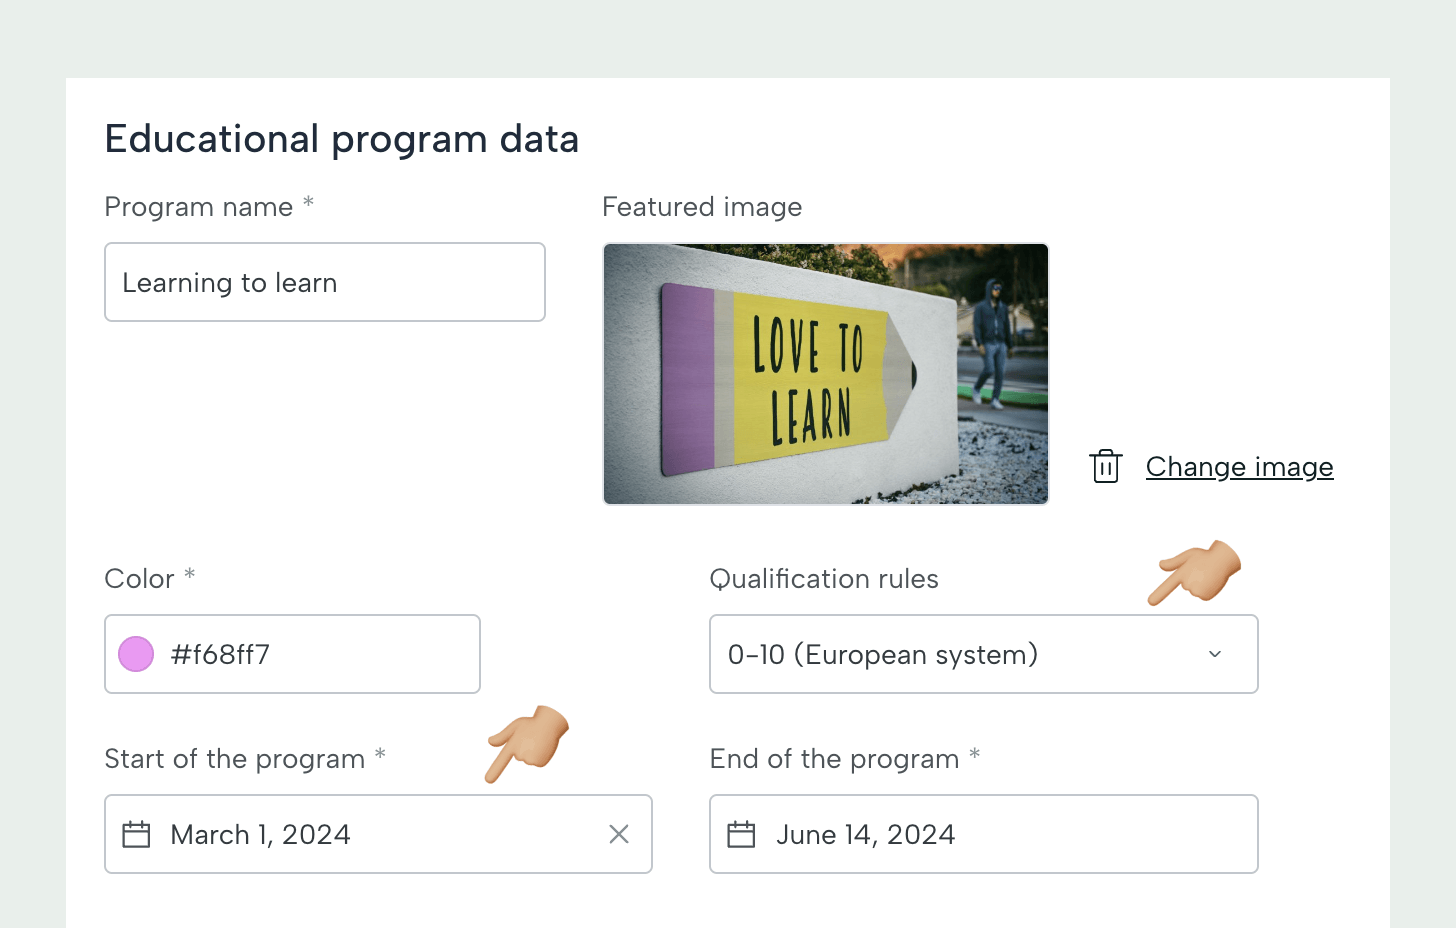
En este paso, se creará el programa de formación, que funciona como una agrupación de materias o asignaturas. Deberás introducir el nombre, elegir las reglas de calificación*, que pueden ser europeas (de 0 a 10) o estadounidenses (de la A a la E) y las fechas de inicio y fin del programa.
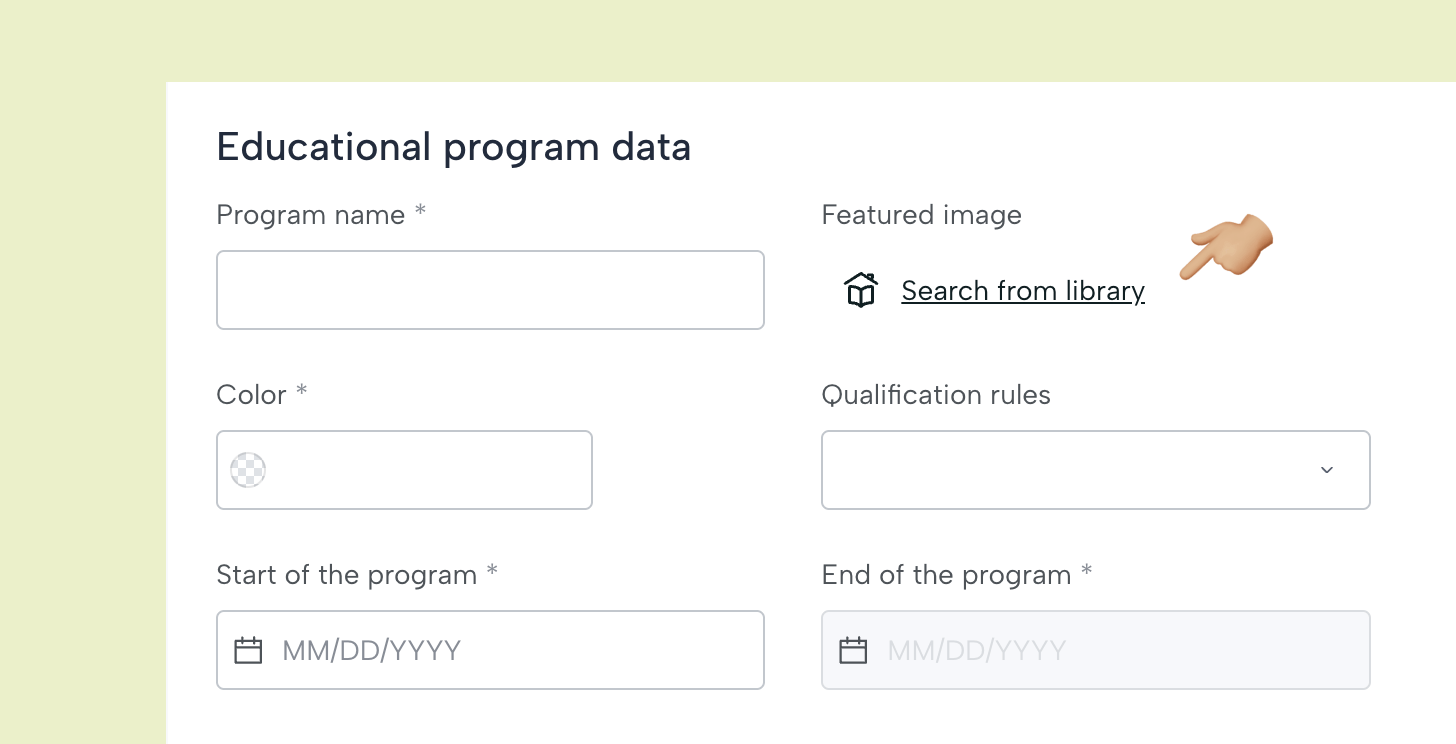
La versión gratuita de Leemons permite la creación de un único programa educativo. Sin embargo, Leemons premium es multiprograma, por lo que es útil incluir una imagen y un color para mejorar visualmente el diseño.
* Leemons también te permite crear tus propias reglas de calificación personalizadas.
Personalizar y brandear el programa
Aquí entrarás en contacto con la Biblioteca Leemons por primera vez.
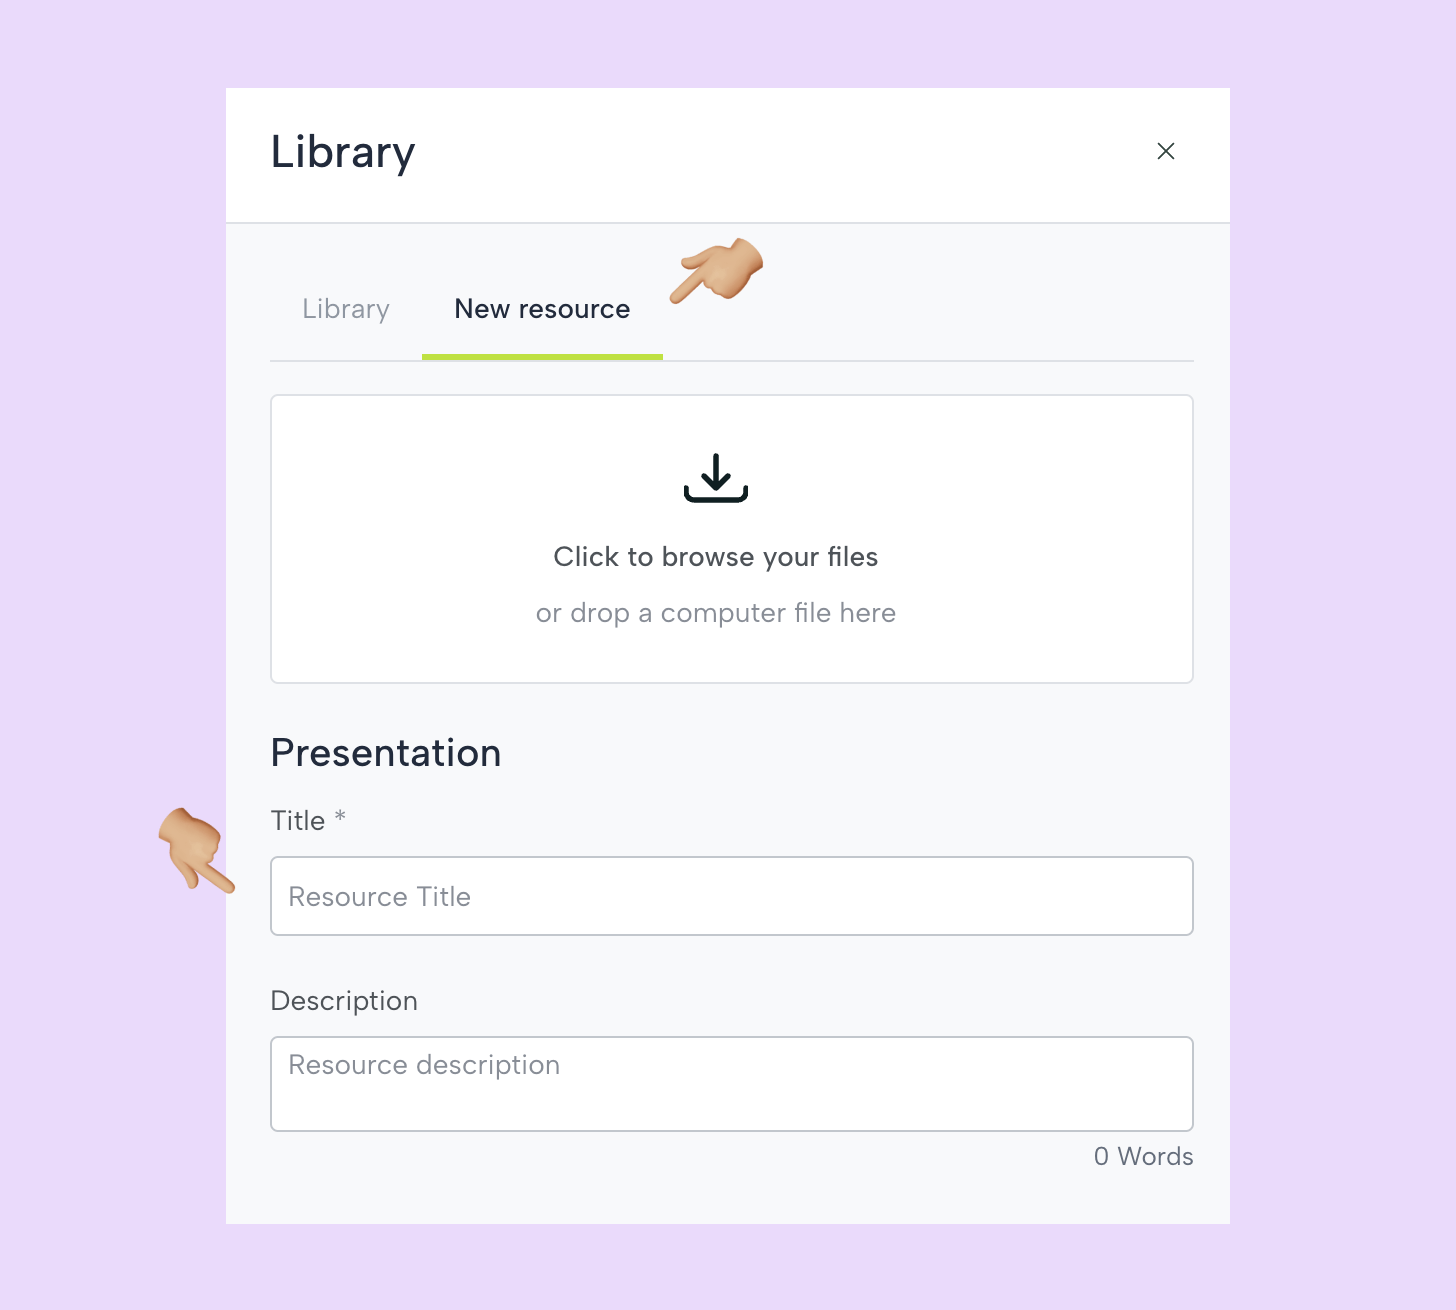
Desde allí, podrás subir un archivo que se colocará como portada de tu programa.
¡Programa creado!
Podrás realizar modificaciones hasta que crees los cursos e inscribas a los estudiantes. La regla de calificación / evaluación y las fechas de inicio y fin no se podrán editar.
Register teachers
In the same program configuration screen you will be able to register the teachers and close the subjects. You will have to start with the teachers by clicking on New teacher.

Información del profesor
Los datos del profesor son: correo electrónico (donde enviar el correo de activación), nombre y apellidos, fecha de nacimiento y género.

El administrador o administradora puede subir una foto o dejar que el usuario lo haga más tarde desde su perfil.
En el caso de un usuario sin foto, se mostrará un avatar a color con las iniciales del nombre.
En Leemons, cada asignatura puede tener hasta dos profesores que colaboren en ella. La versión gratuita permite inscribir a 6 profesores y 3 asignaturas.
Activación de usuarios no administradores
Los profesores y los alumnos recibirán un correo electrónico para activar su cuenta y serán redirigidos a una pantalla en la que podrán introducir su contraseña de acceso personal (el usuario será la dirección de correo electrónico).
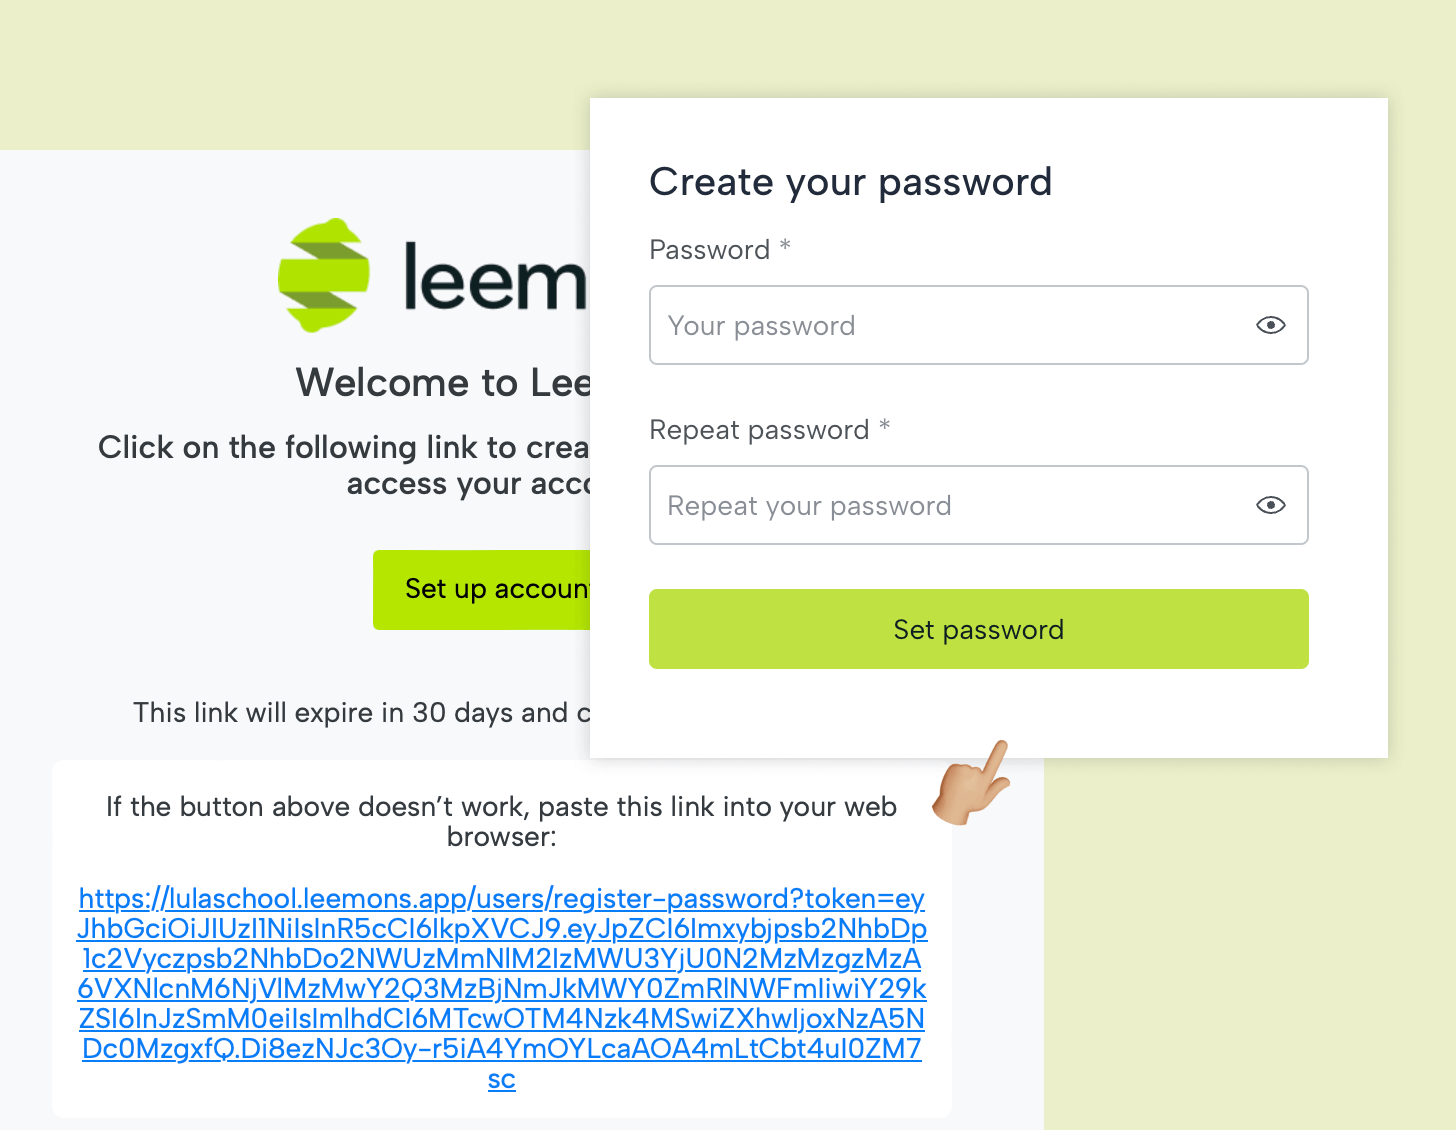
En este caso, el token de activación tiene una fecha de caducidad de 30 días, pero solo se puede usar una vez.
En caso de que se produzca un error en el proceso de activación, el administrador puede activar al usuario manualmente, así como restablecer la contraseña y enviar un correo electrónico de recuperación.